This is my first ever how to guide and hope that it has not already been covered.
I bought this Reverse Parking Sensor Kit from Hong Kong through an auction site for under £13 delivered and already the right colour and it comes with the correct size drill bit and hole saw.
You will need:
Tape Measure.
Drill.
Masking Tape.
A Pen or Pencil.
A Long Screwdriver (Either Philips or Flat headed) Makes no difference as it is only used to make a long hole!
Firstly I put masking tape op either side of my bumper.
And I measured 15.5cm from the bottom crease in my bumper across 4 points each side and then for the inner sensors I measured 2 inches from the reg plate area by hooking the metal bit of the tape measure on to the edge. And made a cross where I wanted the inner sensors to be.
Then I measured 1 foot from the lip of the reg plate area to the outer section of the bumper for the outer sensors.
I then drilled the holes and hand picked the little rough bits left from drilling the hole.
Then I used my really long screw drover and at a downward angle from the inner sensor holes only I made a big enough hole for the sensor wires to be fed through. I used a long cable tie aswell to assist the wires through. The outer sensor wires I ran across the inside of the bumper and fed down the same hole as the inner sensors to the underneath of the car. (Harder then it sounds!)
I ran the wires across the inside of the bottom of the bumper being careful not to give the exhaust any opportunity to melt the wire. I ran them all to the drivers side of the car.
I then fed a spare bit of long wire down through the vent from inside the car until I could see it dangling under the car. I then taped all 4 sensor plugs and wires to the wire and pulled it through to the inside of the car.
Now for the EASY BIT

I located the brain for the Parking sensors on the inside of the rear quarter panel wing up out of the way of harm but easy to get too incase of any future possible problems. I mounted the brain using the velcro it came with which had a sticky back.
Then I ran a pair of wires across the car in the boot with the lights wiring loom and splices it into the black and white wires on the left hand side of the car. I splices the positive into the black and white wire and then connected the negative to the earth wires that are bolted to the body work near the loom. I wired the negative to the earth first. Which you should always do.
I then got the display unit and stuck with the double sided sticky pads it came with on the dash almost central under the windscreen and routed the wire under the windscreen and round and down the drivers side of the car and tucked it under the rubber door sill and under all the trim under both doors and fed it up under the side of the rear seats into the boot compartment and round the back of the tools section into the pocket compartment where I located the brain.
I then plugged all of the wires in as per instructions and labelled wiring and brain.
And hey presto, Reverse parking sensors fitted and working.
By wiring it in as described above, the reverse parking sensor system comes on automatically when you put your car in reverse!

Hope you find this helpful.
Here are some pictures to go with the above

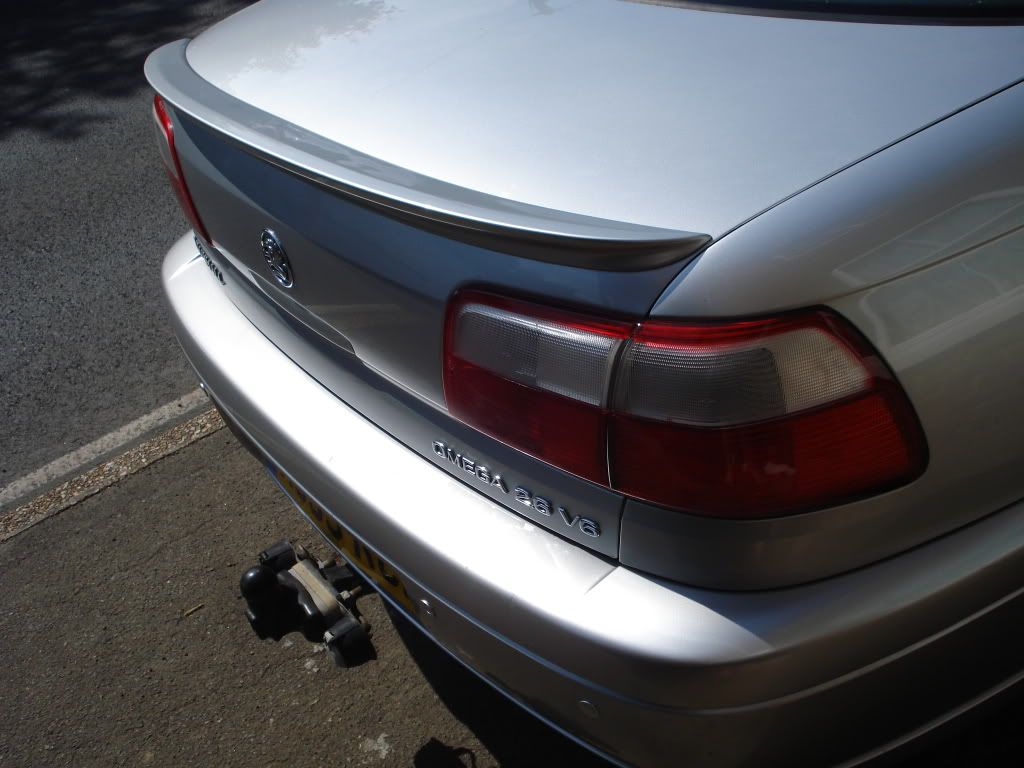
Before:

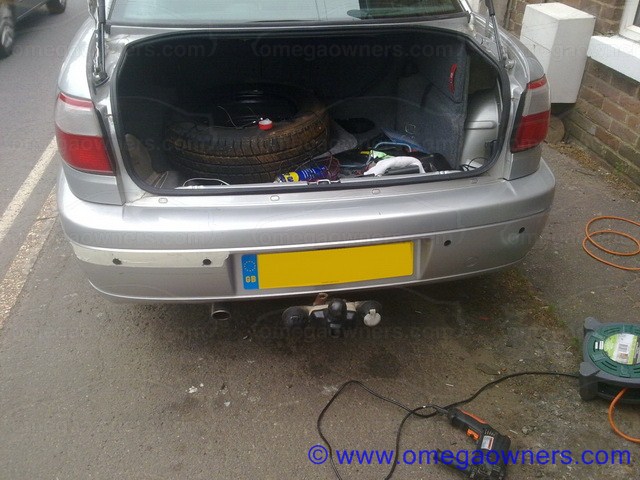
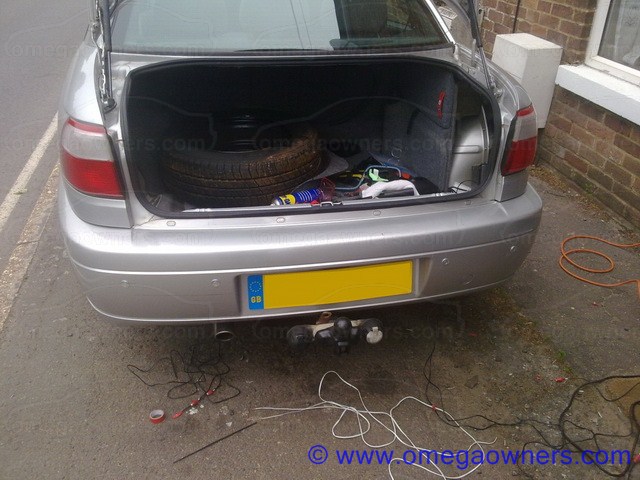
During:


Download a video of them in use :
http://images.omegaowners.com/images/guides/parking_sensors/29052011018.mp4After:

If you have any questions, feel free to contact me.