Tools needed:-
T25 bit
Junior hacksaw
Flat bladed screwdriver
Thin bladed electrical screwdriver
13mm socket and ratchet
Hot glue gun
HowTo:-
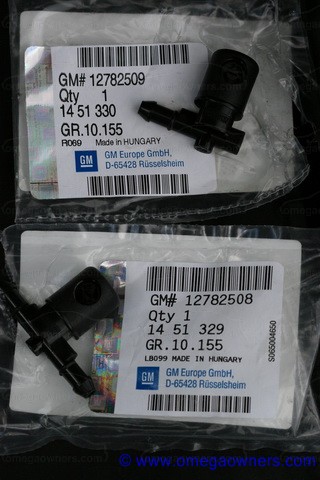
You need to buy a pair (one left and one right) of Insignia washer jets from your local Vx dealer, they cost £1.95 each, plus vat (
price correct as of August 2010). Part numbers are:-
12782508 Nearside
12782509 Offside
You may wish to adjust this to point lower before you start as adjustment afterwards can be tricky (details at the end of the guide)
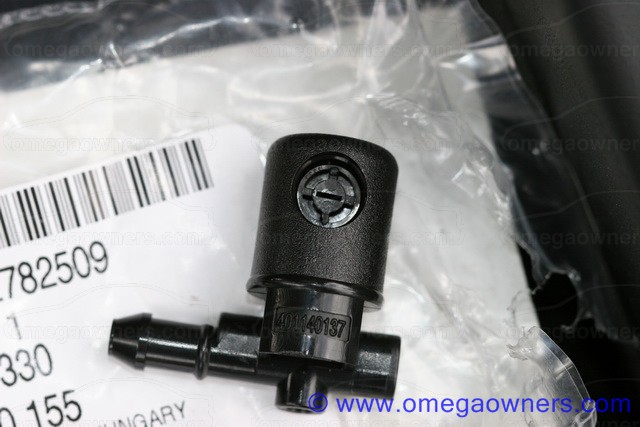
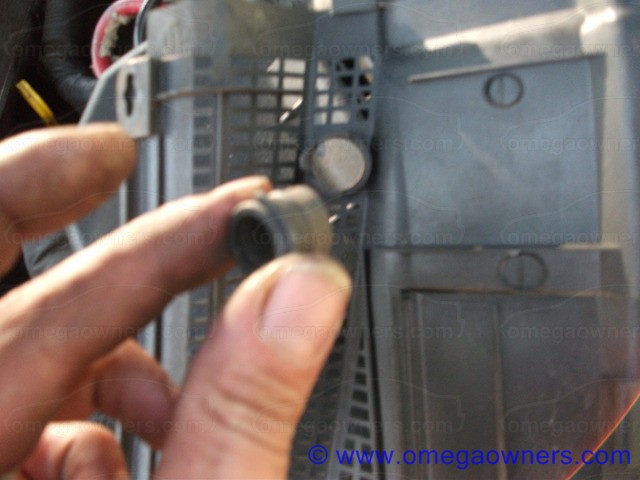
These are the original nozzles to remove (facelift)
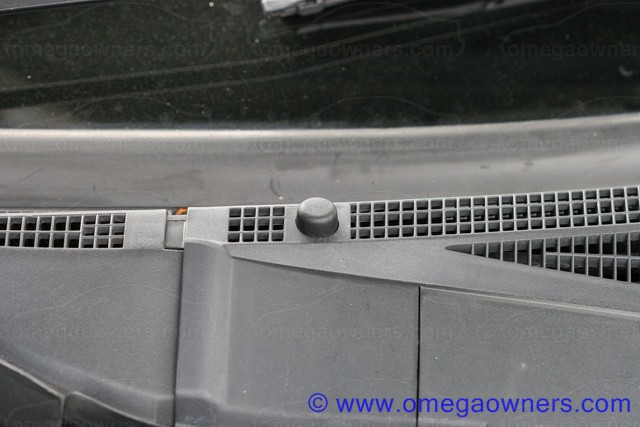

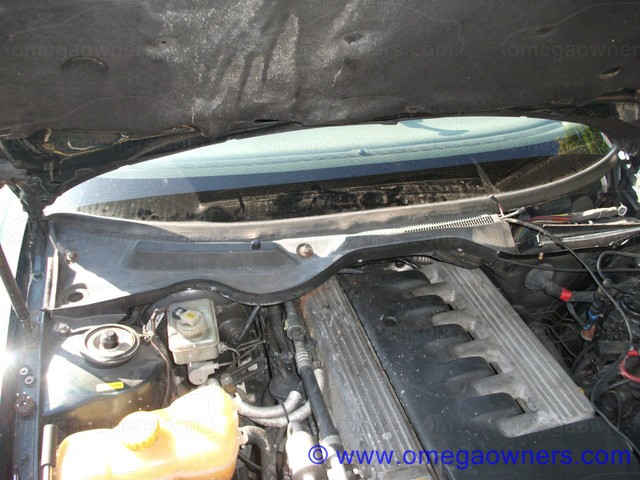
Remove the scuttle panel using the below guide:-
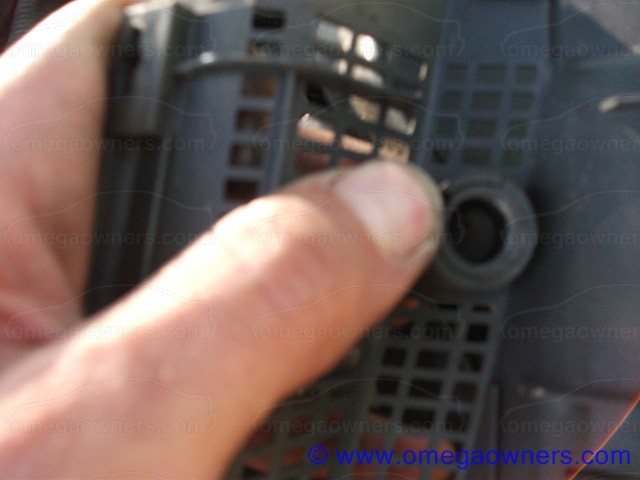
http://www.omegaowners.com/forum/YaBB.pl?num=1152710108Pop out the blanks (pre and mini facelift models) or existing washer jets (facelift model). BE VERY CAREFUL, the tabs are very easy to break!
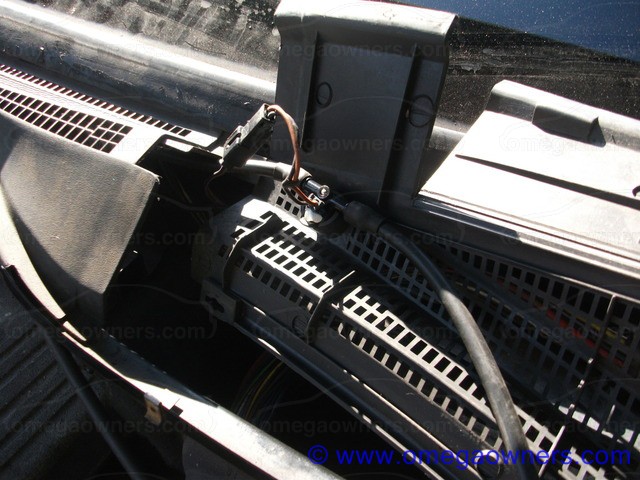
If you have a pre or mini facelift then you will need to remove the existing loom, tubing and jets out of the bonnet so that the heater blocks can be moved over to the new jets. Not all prefacelifts have the heaters, so adjust guide to suit. Facelift owners can skip this step, as its a more straight forward replacement.
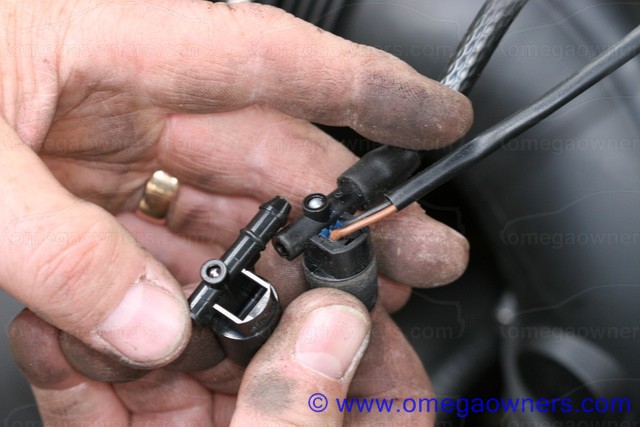
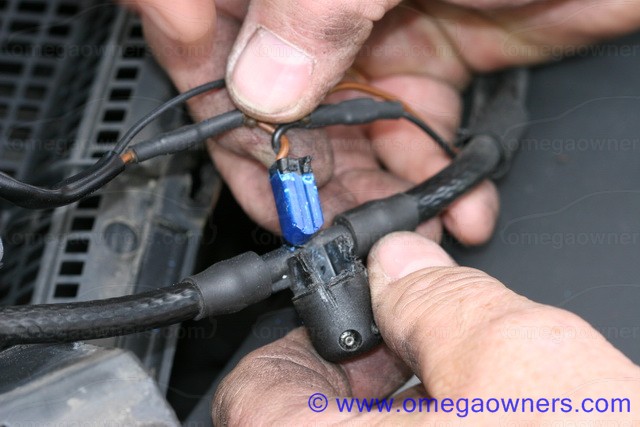
Unplug the heater loom and disconnect the washer tube.

Unplug each washer from the heater loom and pull it out of the bonnet carefully. Using a flat blade screwdriver push in the tabs either side to free the old washer jets and pull off the tube. Once they are both out you can pull the tube out of the bonnet as well.
Now for the scary part, removing the heater blocks from the old jets, there are several ways of getting them out, but all involve butchery....
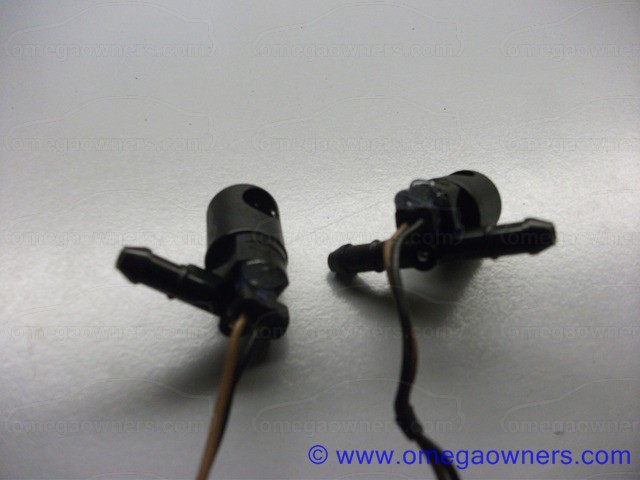
Here are the old and new jets together
1, Clamp the jet in a vice upside down and with a junior hacksaw carefully cut down the side of the heater block as far as the locating tabs.

Do the same on the outer edge.

Then very carefully with a thin bladed electrical screwdriver tease the edges out to release the adhesive.

With a little patience and a steady hand the heater block will come out of the jet in one piece ready to be re-fitted.

or 2, Go in from the bottom and prise out.
With a hot glue gun put a dab of glue in the bottom of the new jet and push it into the glue until it sets. Add another blob of glue to each side of the heater to hold it in place permanently. Cam cover goo also works well as an adhesive.
Now for the fun part! Re-assembly

Fit the drivers side jet into the longer part of the scuttle and the passenger side jet into the shorter part. The tube will only allow them to fit one way but make sure you push them all the way home, the new jets will be tight.
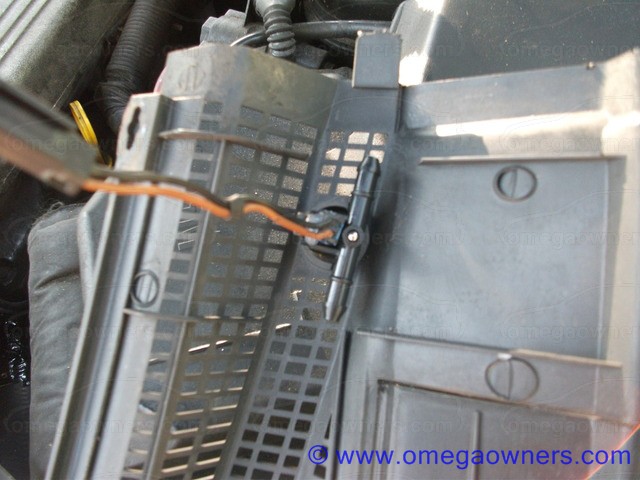
Attach the loom and pipe to the drivers side jet and feed them through the grommet in the scuttle.
Refit the drivers side of the scuttle.
Attach the pipe from the drivers side to the passenger side jet and the pipe going on to feed pipe (Pre and mini facelift models have a T piece and a short length of pipe that used to feed the passenger bonnet mounted jet. This can be removed). Connect the loom to the passenger side jet and then to the plug above the pollen filter.
Now you can re-fit the passenger side of the scuttle.

We are now ready for a test run!
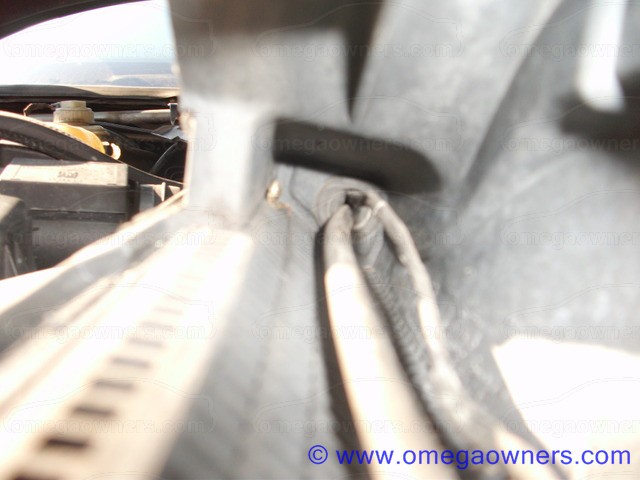
Once you are happy they are connected correctly all that remains to do is adjust them...
DO NOT try and adjust the with the electrical screwdriver in the slot, it will destroy the shape of the jet. I use a small pair of tweezers (from a pound shop vanity set) filed down on the edges to make them thinner. Be careful! The jets are very tight so be as gentle as you can.
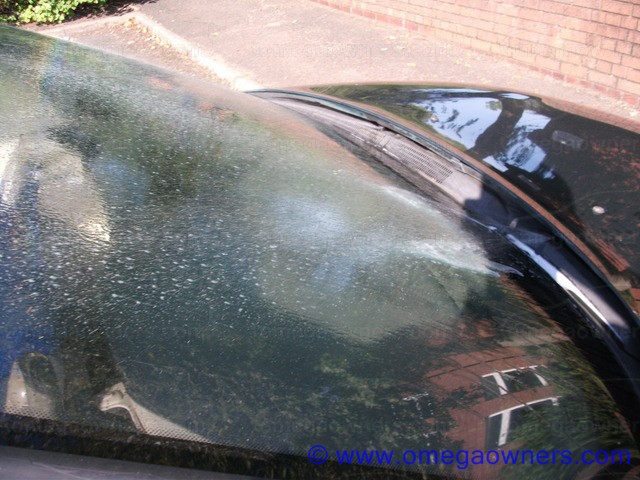
Hopefully now you have adjusted them you will have something like this....
Happy retro-fitting


 Author
Topic: HowTo: Fitting Insignia Washer Jets. (Read 11614 times)
Author
Topic: HowTo: Fitting Insignia Washer Jets. (Read 11614 times)