So here's a little How To. Subject to a few modifications and pictures, I'll gladly then offer it to the Mods, who may wish to see it in the How To section, if we think it an improvement to our vehicles?
How To (subject to revision) Replacing Sheared Heat Shield Threads4 x M6 50mm or 60mm bolts (may be part threaded)
9 x M6 x 40mm bolts (FULLY threaded)
13 x M6 nyloc nuts
13 x M6 normal or flanged nuts
13 x M6 large penny washers
13 x M6 smaller washers 20mm
13 x M6 grip washers
(The above total can be sourced off ebay for about £7 all-in)
2 x drillbits 1.5mm approx and 6mm and Drill
Small Socket set inc 10mm
Spanners
T40 Torx
Angle grinder with flap wheel
Seam Sealer (you'll only need about a shoepolish tin's worth

)
Mole grips
For this guide, rather than describing the drilling and 'modding' of every hole, I've treat each one the same. The detail differences are dealt with in the
Afterward section at the bottom.
The sequence of the fittings goes...
Bolt > large washer > grip washer > floorpan > nyloc nut > heat shield > small washer > flange nut.
You may wish to spend an evening in front of the TV making up these in order one evening before starting make up your 'fittings' in that order
1 Assuming the car is on ramps or jacked and on axlestands and safe (the higher the better for this particular job) etc...
2 Seats out (guide elsewhere). and peel carpets up. You may wish to take carpets out completely, but I didn't.
3 Find a sheared thread. Angle grind off remaining proud thread (if necessary)
4 Estimate where the drill will come through in the cabin, ensuring no carpet or sound deadening material will be damaged. Return underneath and drill your pilot hole as accurately to the centre of the old thread as possible. The angle grinding will have sped up drilling time significantly.
5 Return to the cabin, confirm the exit point, if all's well, back under and enlarge to 6mm hole.
6 Smear a decent coating of seam sealer both sides of the hole.
7 Insert bolt, large washer and grip washer from the top. Fit nyloc nut on the protruding thread under the car. Here you need a spanner and a mate to stop the bolt rotating as you tighen the nut. If you're on your own, other tricks include mole grips or a spanner, allowed to rotate with the bolt until they hit eg: the drive tunnel. Ensure nut is tightened with no chance of the thread spinning
8 Spin on washer and nut / just a flanged nut, so they don't go missing. These will be removed momentarily to refit heat shields.
9 Admire your handiwork.

You will notice that having threads to help locate the heatshields on is a lot easier than holding a shield roughly in place with one hand, then trying to insert a self-tapper into a now-invisible hole.
AfterwardMost holes are treat the same, however, there are some slight differences between certain ones. Notably:
-The frontmost thread, the last one to point straight down before you head upward into the engine bay comes out DIRECTLY next to the WIRING LOOM. I say again - THE WIRING LOOM, located at the front of both front footwells. I
strongly suggest lifting this up and rearward or 'chocking' it suitably out the way before drilling. If you drill through several of the car's vital systems I can
not be there to help solder them back together!

-You will notice that you have a transverse box-section with four (two per side) threads. This is what the longer M6 x 50mms are for. Simply repeat the process as before, only drilling through both layers of steel. Ensure as good a smear of seam sealer inside the holes as best you can.
-In the case of the two opposite shields that share a single stud (image 2 below) I simply bolted them together, with a nut locking the bolt to the top shield. There is a bracket on the prop shaft; If you were to drill it out, then repeat the process as with the other bolts, this would be fine, too.
-You may find certain holes come out a little bigger for whatever reason. I'd say use your judgement in this situation if you think it worth putting an extra washer with the nyloc nut to prevent the nut being pulled into the floorpan on tightening. Also some heat shields will require a further washer to prevent the nut being pulled through, on some a flanged nut will be suffice perfectly. So just treat each hole with your own discretion and common sense.
-Finally this is probably not a job for one evening - unless you're very lucky, have a mate helping, and confident. You may wish to even treat each size as a separate job. It's a pig of a job, but the results are stainless steel heat shield securing threads, which are maintenance-free, will never rust, look great and total cost is about 75pence per fitting!
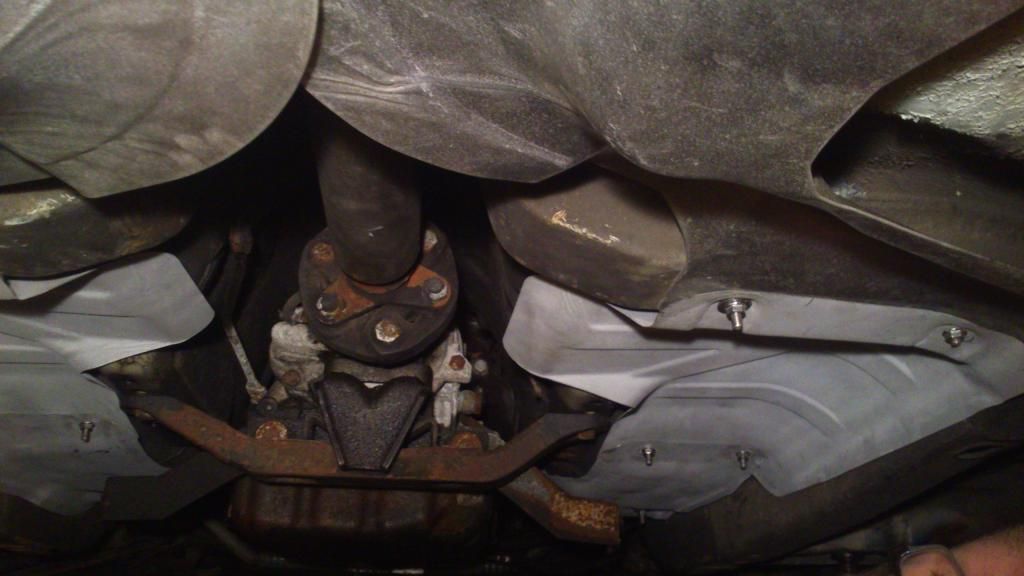
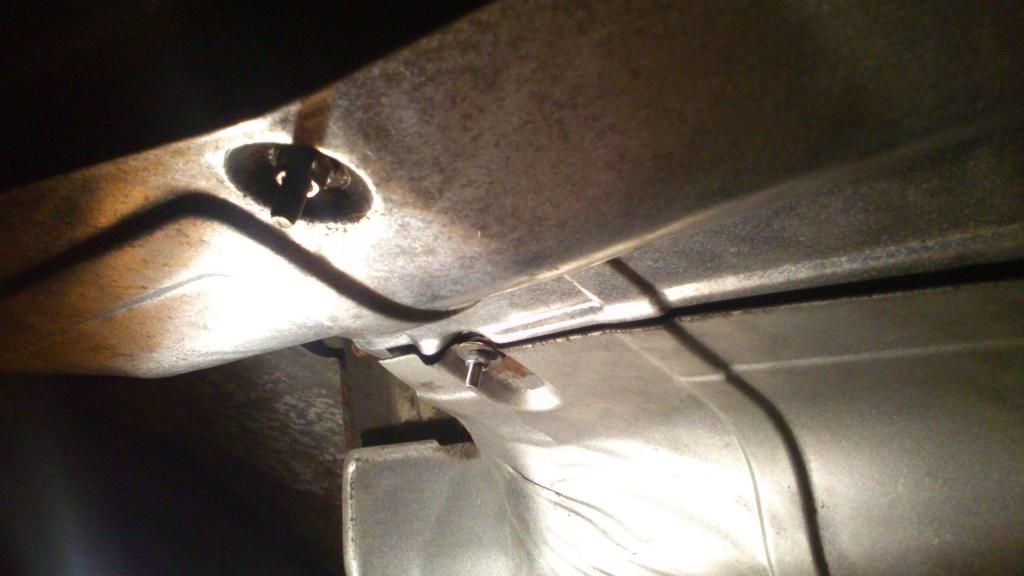
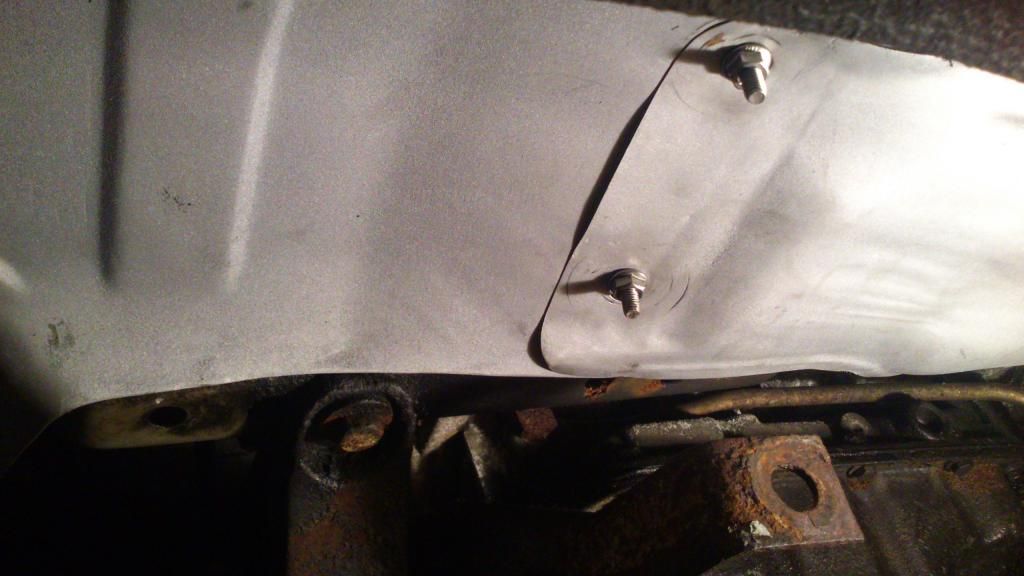
Not great images but they give you the general idea, and I don't think anyone can say that it isn't an improvement


 Author
Topic: 'The' Omega... Progress Diary (Read 12848 times)
Author
Topic: 'The' Omega... Progress Diary (Read 12848 times)