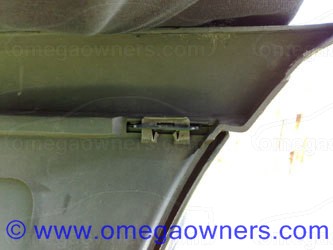
On the inside of your bumper you will see two large magnet shaped clips, one each side of the bumper edge. Remove these (large flathead screwdriver comes in very handy during these stages):
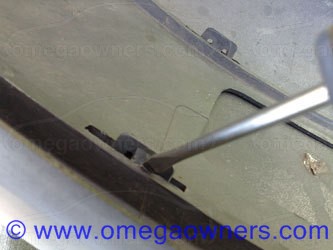
Next you will need to push down and in on the clips holding the top and bottom parts of the bumper together; this is where the chrome strip sits on the outide. Just work on the section you want to replace, or do it in stages if replacing all three parts (start with either the left or right chrome strip):
Once you have prized open the section you want to replace carefully remove the chrome strip from the outside. Repeat the process until all the strips you want off have been removed.
WARNING: THE INNER EDGE OF THE CHROME STRIP IS VERY SHARP AND WILL CUT THROUGH YOUR FINGERS VERY EASILY. TAKE CARE WHEN REMOVING AND APPLYING CHROME STRIPS!Get your shiny new chrome strips and line them up on the bumper where they will be placed. You will see a number of tabs/lips on the chrome strip that correspond with holes on the bumper:

Carefully press them in place and work your way along the strip ensuring there is no gap between the bottom of the strip and the body of the bumper. This can be tricky at the corners / parts where the strips meet but perseverance will pay off!! ;-)
Back on the inside of the bumper, using your flathead screwdriver, pull all the clips back in place so that they pull the chrome strips tight against the body of the bumper:

Put the bumper back on (reverse of the steps mentioned above) and marvel at your shiny new dink-free chrome strips:
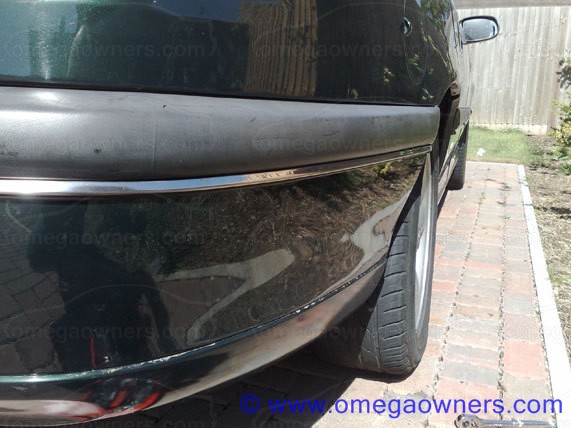
Tadaa!

Now I guess I should apply some AutoGlym Bumper Care to restore the black finish on the plastic bit...

Youre done! (time for a beer)


 Author
Topic: Replacing Rear Chrome Trim and Bumper Supports (Read 12930 times)
Author
Topic: Replacing Rear Chrome Trim and Bumper Supports (Read 12930 times)