Day 12 (Today): Help and input from you guys in red


Well, another awesome day of just practical

So I finished off putting the collets back on to the valves (I had just two left from last week) using the valve spring compressor. just a brief reminder that we'd got the valves out so we could ''lap them in'' which means we were using that grinding paste to make the seat perfect........We then put the HG on the block and then the head and then torqued it up... standard spiral to 30nm, 90o, 90o. we then put the pushrods back in, then the rocker shaft.
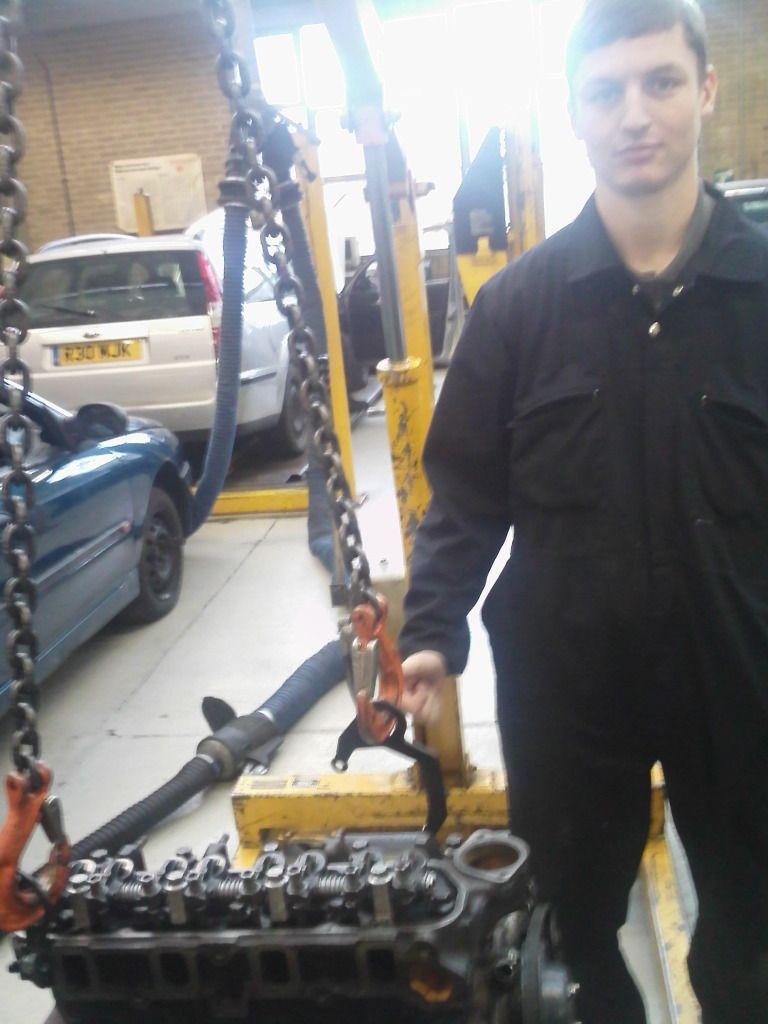
We then got the engine hoist out to lift the engine back up on the stand.... i did tell my mate to get out of the way as he was ruining the shot

Also was interesting that the engine didn't have its own lifting eyes but they had a box of them. we simply found two, put one through an exhaust manifold stud, and the other on an intake manifold stud, put nuts on them and began lifting

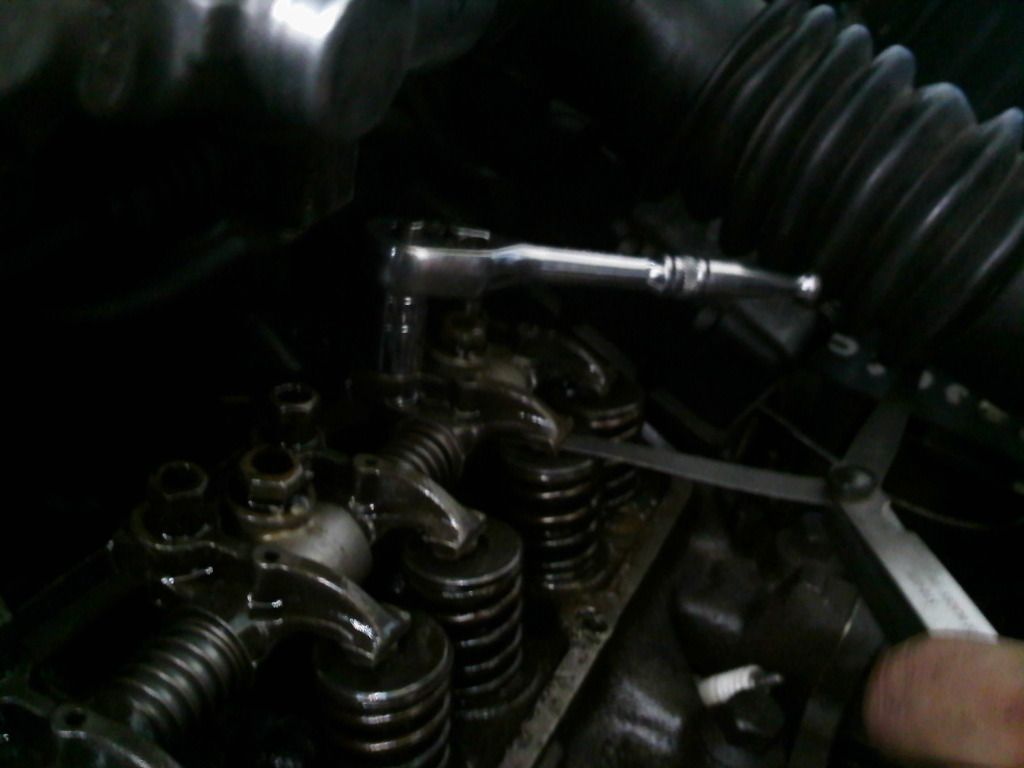
So then when we'd put our engine back we had purposely left the valve cover off as our teacher showed us how to gap the valves. a note worth making for reference is that the inlet valves are always bigger than the exhaust valves so they can pull more mixture in. also if the exhaust valves were as big (or bigger) apparently they would get too hot..... got to be honest not too sure why

Anyhow because the exhaust valve expands more in use we set that at 0.3mm and the inlet valve gap at 0.2.... when i say gap i mean the gap between the rockers and the top of the valves
and we used these feeler gaugers (i think thats what theyre called) to get the right gap.......
(this pic was actually taken from our second valve gapping job which we actually did on an engine in a car... another Ford Fiesta) its also worth noting that the bolt the socket is on we simply tightened if there was too much of a gap and unscrewed that if we wanted to make a bigger gap if it was too close). one final note is that the gapping of valves is mainly done on pushrod engines as most SOHC & DOHC have hydraulic lifters that are serviced differently and ultimately dont need gapping.
ooooooooooh one really important thing i nearly missed....... to do the gapping on we had to have the valves we were working on with that cylinder at TDC on compression stroke. and we used a method called ''ON THE ROCKS''
. And it goes like this....
Cylinder 1: we turn the engine by hand and watch it's sister cylinder (cylinder 4) close it's exhaust valve and just open it's inlet valve. we now know cylinder one is at TDC and on it's compression stroke and therefore we're ready to gap cyliner 1. repeat for other cylinders.
This is a pic of the Fiesta Engine. note the battery is missing, however due to some good old charm and a bit of persistance i got a battery... and the keys
I have to say that even though i didnt hear the car before we'd done the job it sounded really sweet after the job!
A note about this engine which i completely didnt understand.... you see the oil filler cap.... there are two pipes going from this in to the intake. one you can see (short thin pipe to the left) and then one thick pipe which you cant see going from the oil filler tube to the right near the MAF on the right near where the battery should be. any ideas why this is??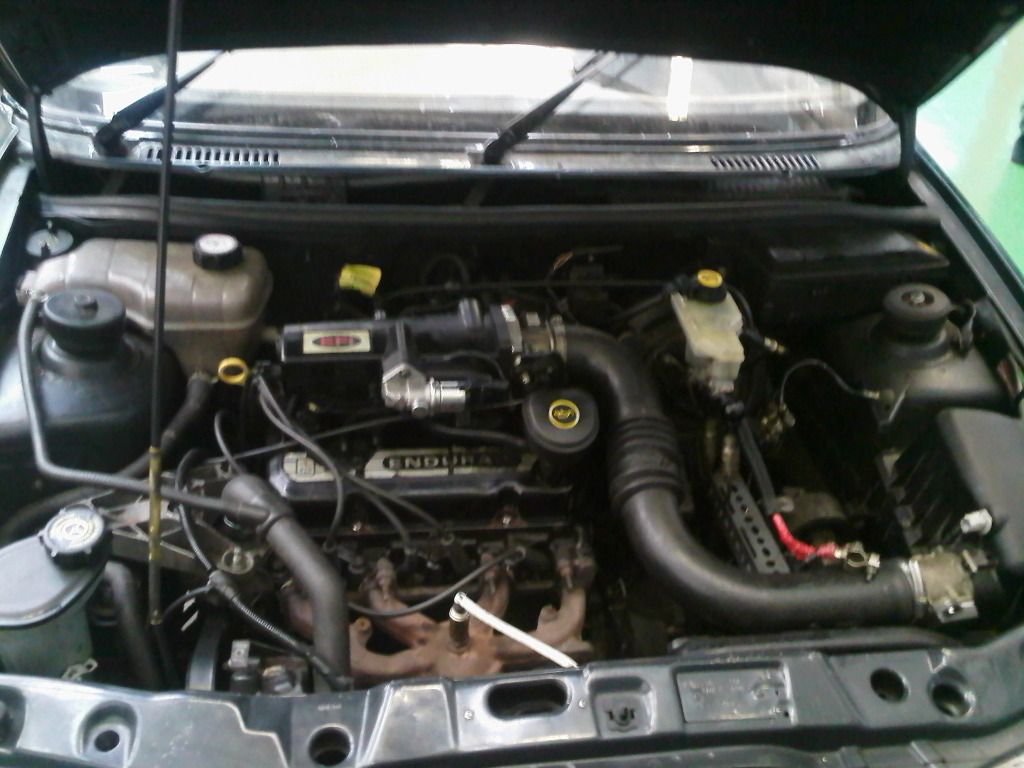
ok, so then we moved our
trail of destruction mechanics skills to a corsa
. 4 pot, DOHC.....
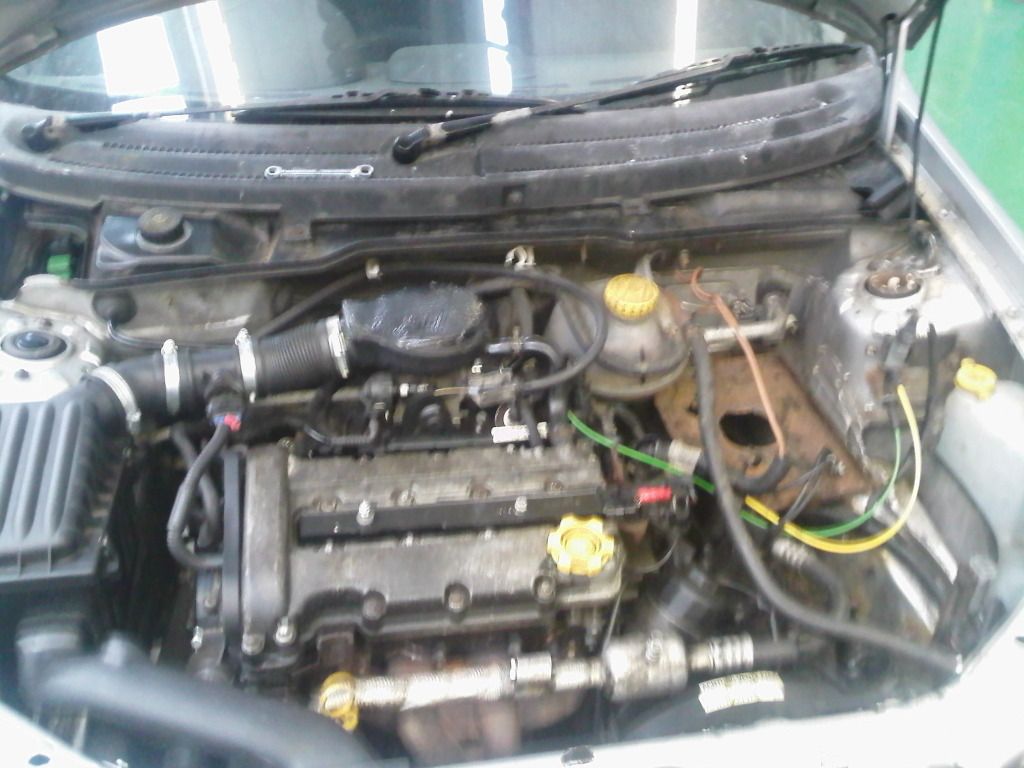
Took the valve cover off this bad boy...... how many fekking bolts

and were greeted with.....(soz for the shite photo)
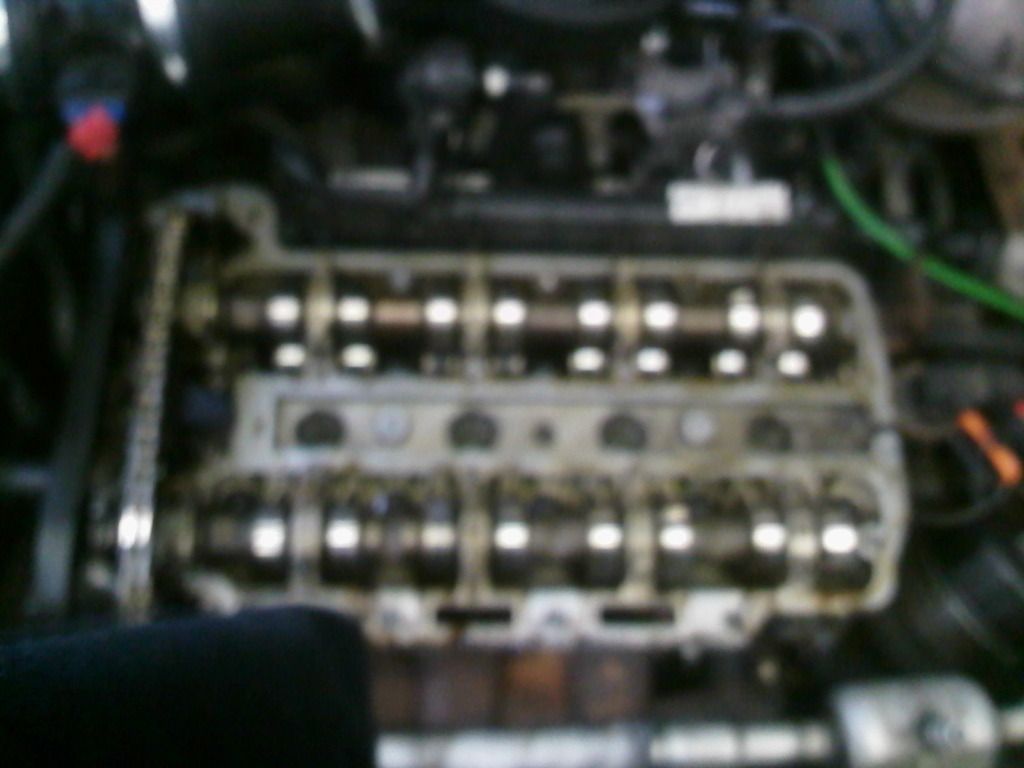
now this was interesting. the teacher rushed this a bit so i didnt quite get it
so if anyone cares to explain that would be great. but basically we got a small screwdriver and under each cam lobe (when both dual cam lobes weren't opening valves) we pushed something to the right and back in place. if it clicked, which they all did, they were good  sorry for the crap explanation but i'm struggling myself with what happened
 Anyway thats enough action for one day. some good work done. will update tomorrow as we hae more practical
Car Bear


 Author
Topic: Mechanic School Blog (Read 96401 times)
Author
Topic: Mechanic School Blog (Read 96401 times)