Evening guys, how are we???
Well we've had our suspension systems theory and if i'm honest its quite involved and as I want to update on alternator and starter practical tonight I thought id go through the suspension systems for front and then rear.
FRONT SUSPENSION SYSTEMS:
MacPherson Strut:
damper housed in spring coil. at the top it attaches to the strut towers in the engine bay. at the bottom it connects to the hub assembly:
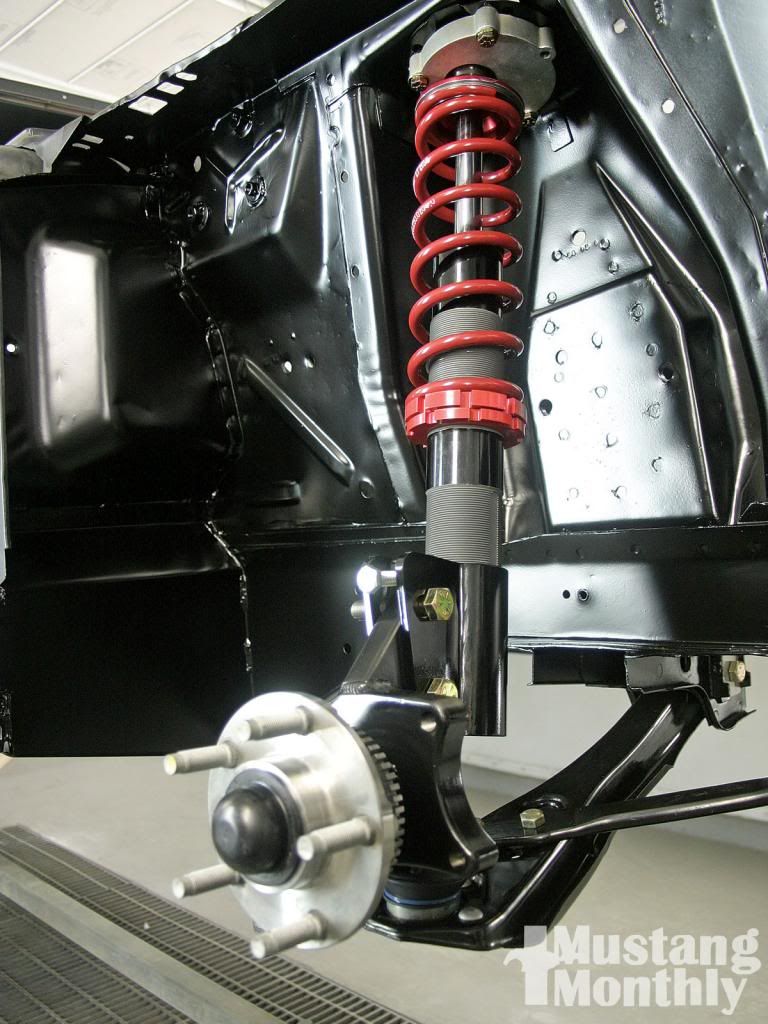
I believe this is the most common type of front suspension on modern cars.
Double Wishbone:
wishbone attached at the top of the hub assembly. a wishbone attached to the bottom of the hub assembly. spring and damper lives between the two. fully independent i.e. moves independently of the other strut on the other side.
Double Link and Radius Arm.
I don't know much about this; all I got is one picture in my assignment

simply looks like two rods attaching to the hub assembly

anyone confirm that?
REAR SUSPENSION:
Rigid beam axle:
coil springs housing dampers so struts affectively. big hunk of metal connecting the rear hub assemblies ( I think Richard Hammond once described this set up on a 2005 mustang as ''a whacking great gurder with two wheels on the end). non-independent
coil spring and semi trailing arm:
this is fully independent with springs and dampers. there appears to be like two triangular plates that attaches to a subframe allowing everything to pivot and flex. drive shafts coming out of the diff not attached in any way to the suspension. this, I believe is what the omega utilises.
finally the coil spring and leading arm:
separate springs and dampers attached to the car via a beam attached to the diff. 4 metal rods attaching to the car. again don't really have much info on this.
Where does the torsion bar come in to this? obviously all the ones ive highlighted have springs and dampers. are these ever utuilised in addition to springs? I assume not. is the torsion bar an old system?ok so now some photos

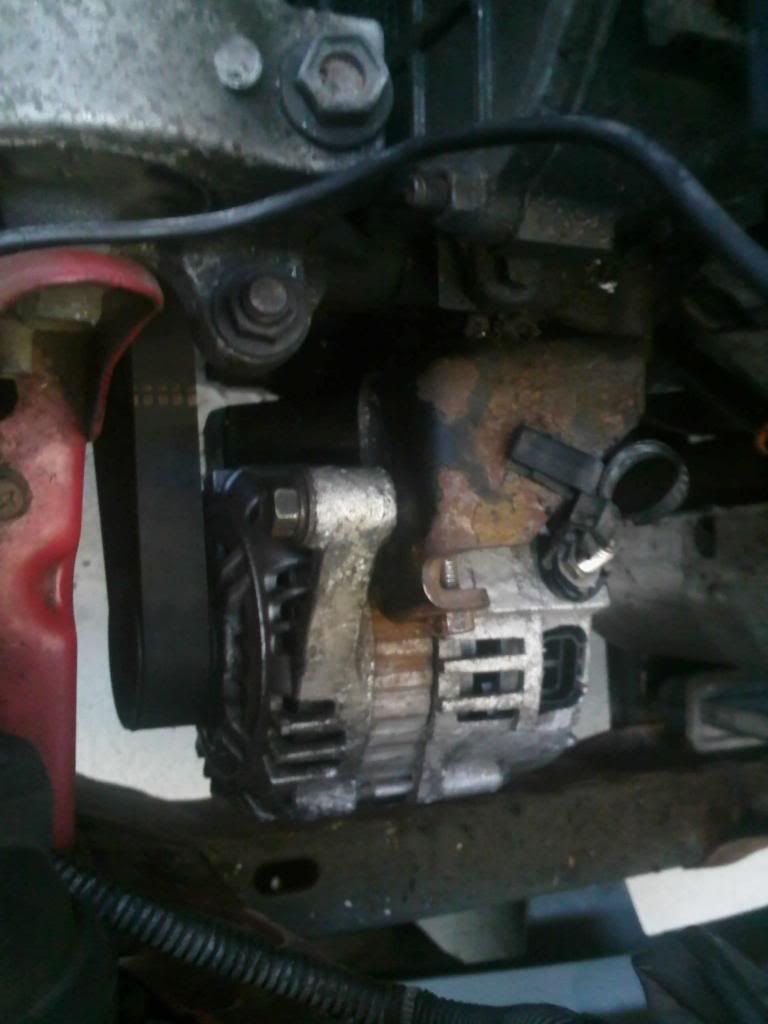
when removing an alternator the order goes like this:
...disconnect battery
...disconnect electrical connections to alternator
...remove drive belt
...remove alternator
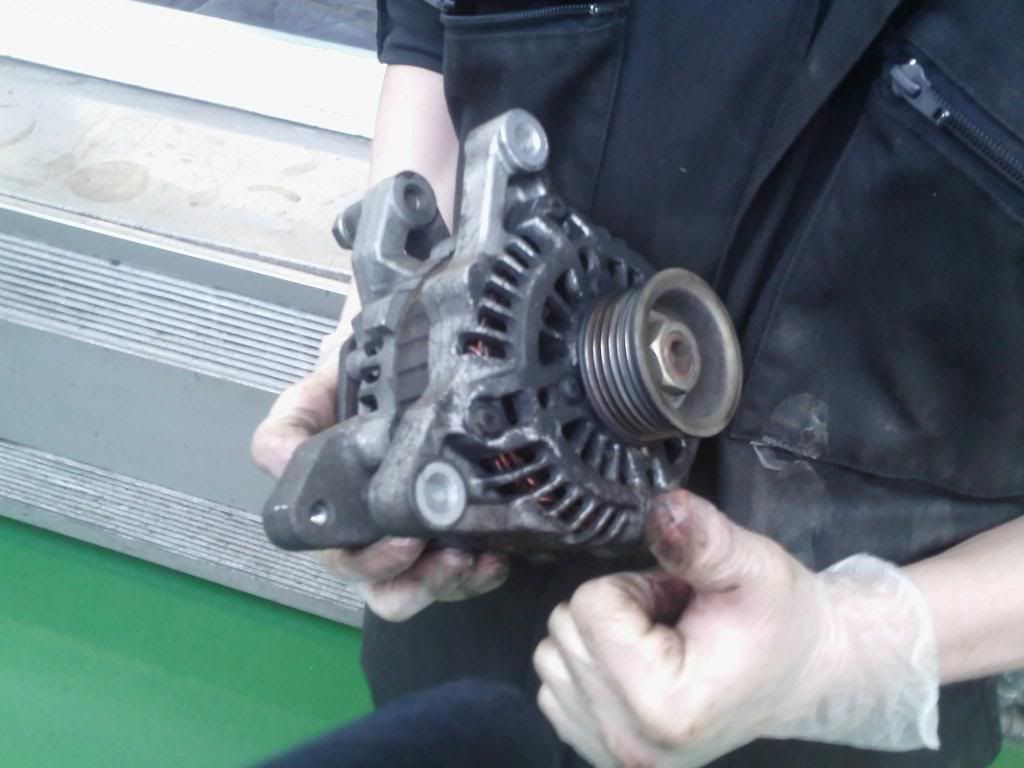
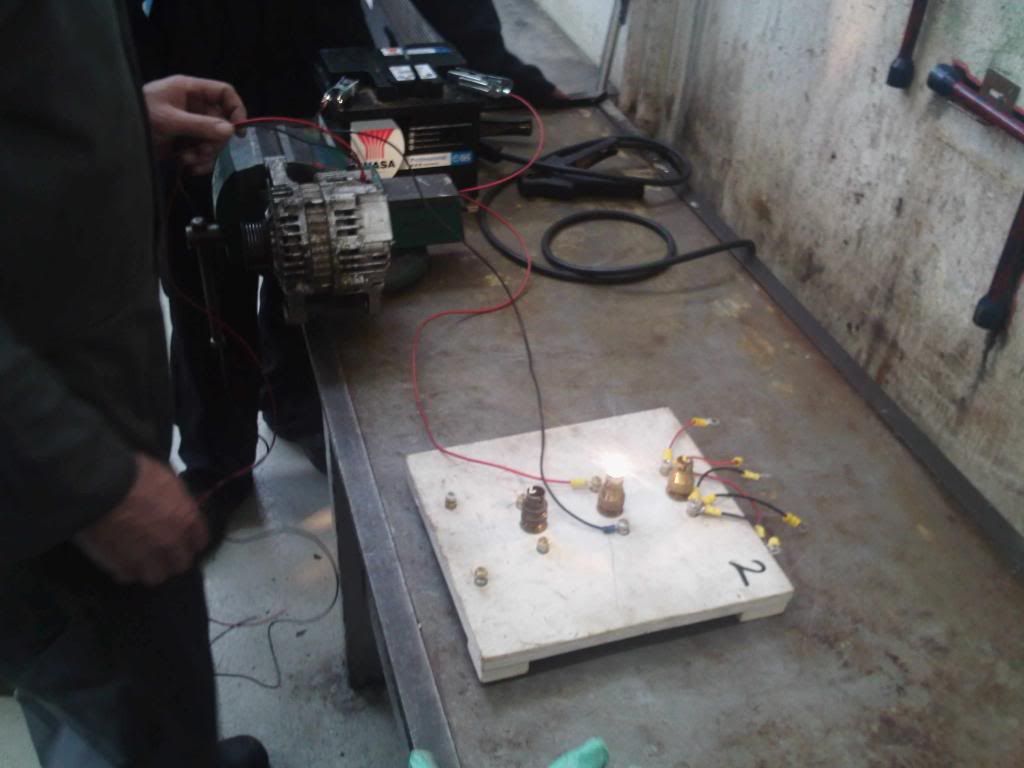
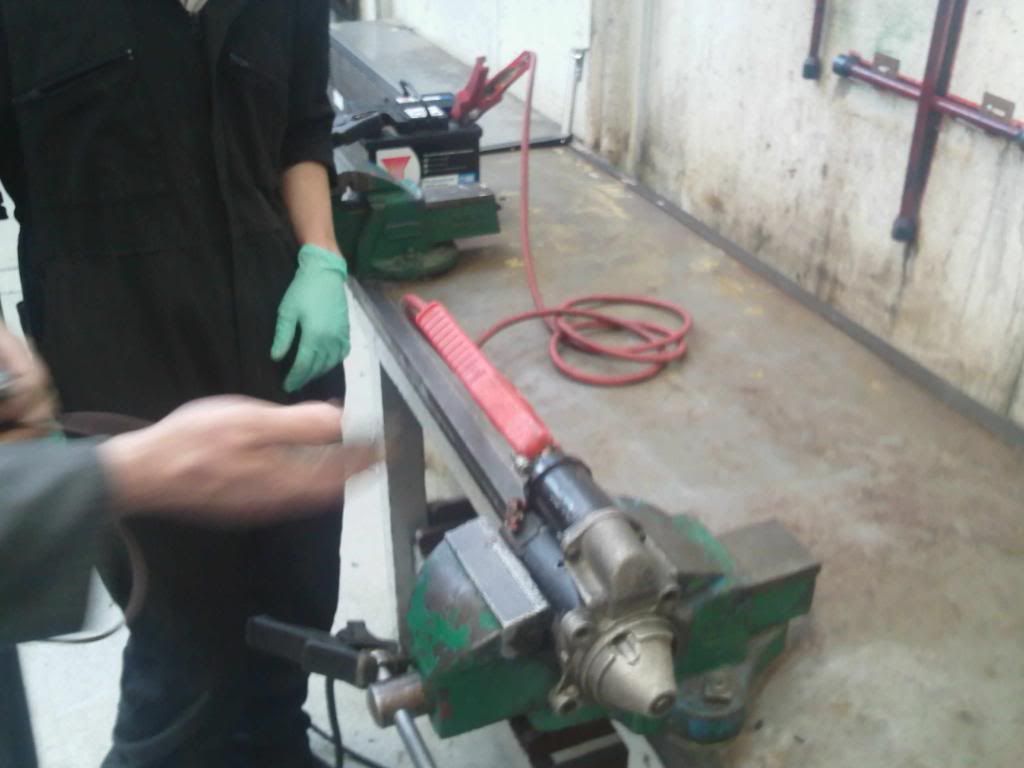
the following is a pic of us testing the alternator whilst off the car....the alternator takes a live from the battery and earths (grounds


) due to its connection to the block. it then has another live lead coming OUT of the alternator which distributes the electricity it produces.
to test whilst off the car...... hook a battery up to the live connection and earth where it would connect to the block. then hook up a circuit to the distribution line with a bulb in it. use a buzz gun to spin the alternator and watch the bulb light up
testing it on the car would just be a dynamic test... hook your DVOM up to the car whilst its idling. presumably leave for a few minutes and ensure it doesn't drop below 13.8-14.5v.
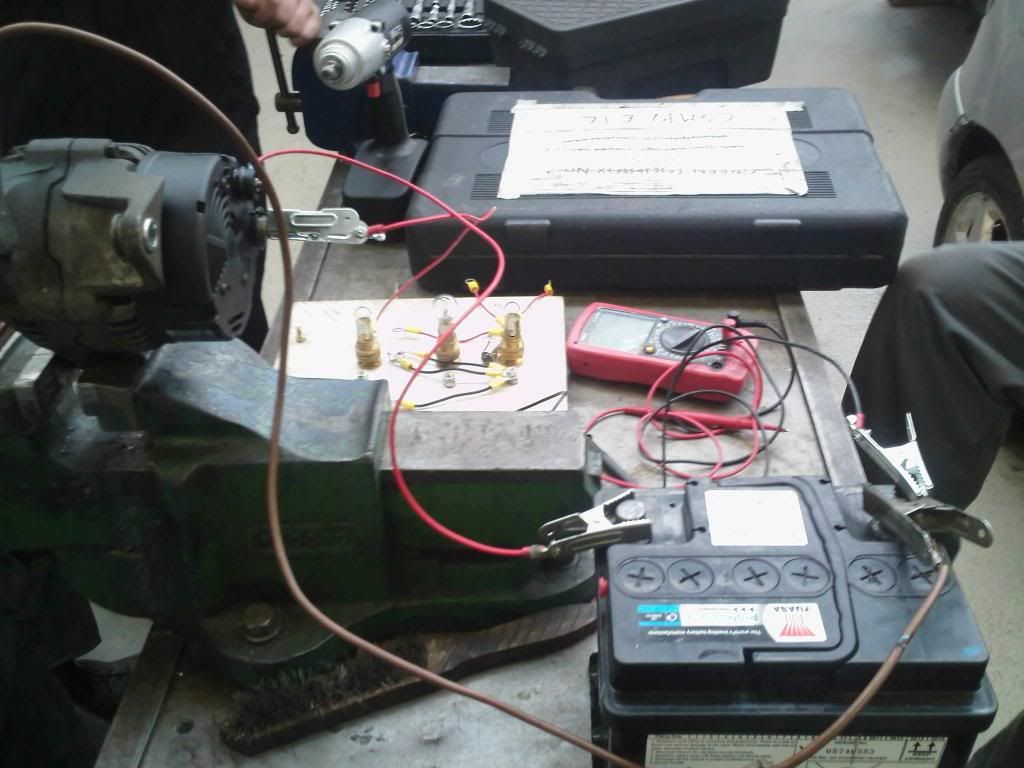
the following is a shot of the tensioner system that's part of the alternator. you loosely fit the alternator in [place and loosely fit the belt, then the bracket in the middle of the pic... you screw the bolt in and as the bolt tightens it pushes against the bracket which in turn forces the alternator outwards and tightens the belt
STARTERS:
In short when the ignition key is turned it completes the circuit to the starter. the solenoid creates magnetism and that in turns spins the mechanical motor. this is splined to the flywheel and turns it to start the combustion process (which then ''takes over'').
in this shot you can see the cog that turns the flywheel.
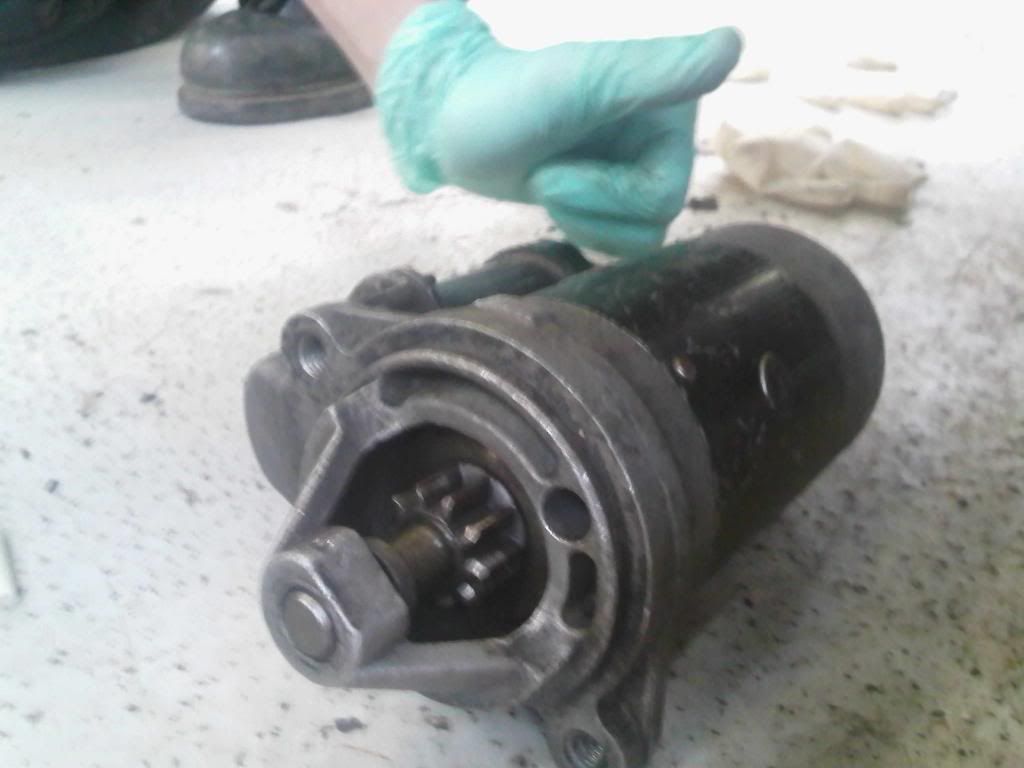
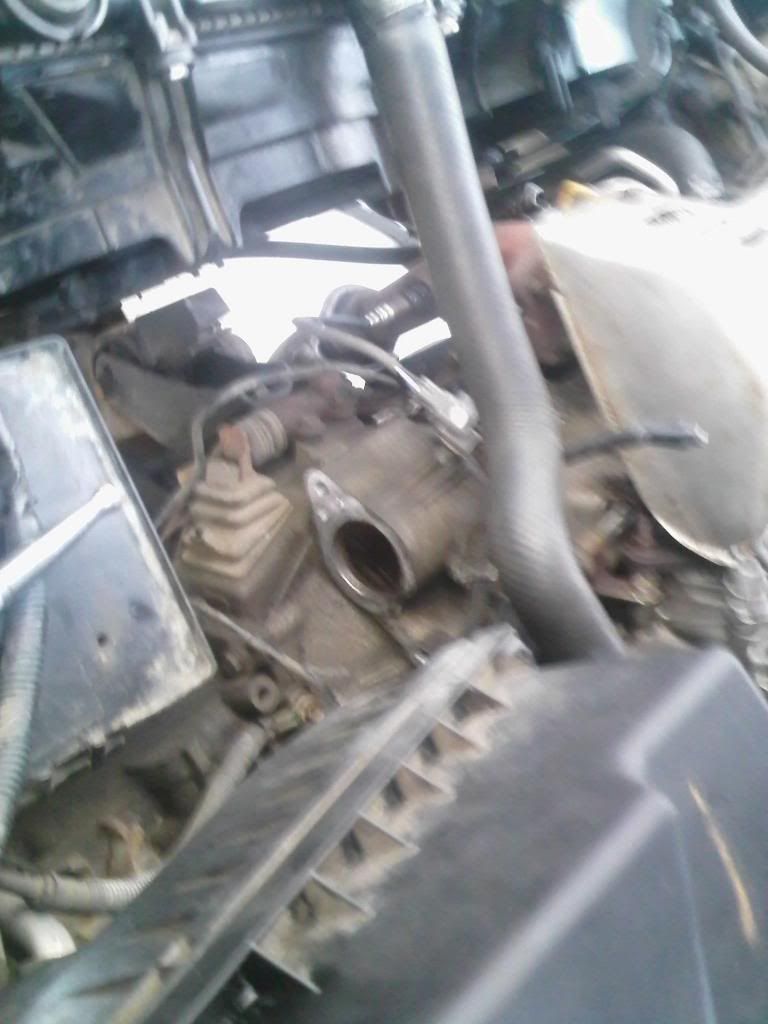
the hole where the starter lives. I tried to take this shot so you could see the flywheel inside... not oo sure if you can see it tho
testing a starter off the car... hook up a battery positive to the part that normally receives the live. and a batt. negative to where it normally touches the block. then hook up a wire/alligator clip to the electrical connector. and touch the live with the other end. motor will engage and spin.
was a really good day. hope you enjoy the update and as ever comments & constructive criticism always welcome


 Author
Topic: Mechanic School Blog (Read 97174 times)
Author
Topic: Mechanic School Blog (Read 97174 times)