Omega Owners Forum

Please login or register.

Login with username, password and session length
Advanced search  

News:

Search the maintenance guides for answers to 99.999% of Omega questions

Show Posts

This section allows you to view all posts made by this member. Note that you can only see posts made in areas you currently have access to.

Messages - HI2DVY

Pages: 1 [2] 3 4 5 6 7 8 9 ... 34
16
Omega Electrical and Audio Help / Re: Handsfree kit prewiring
« on: 16 October 2007, 17:21:44 »
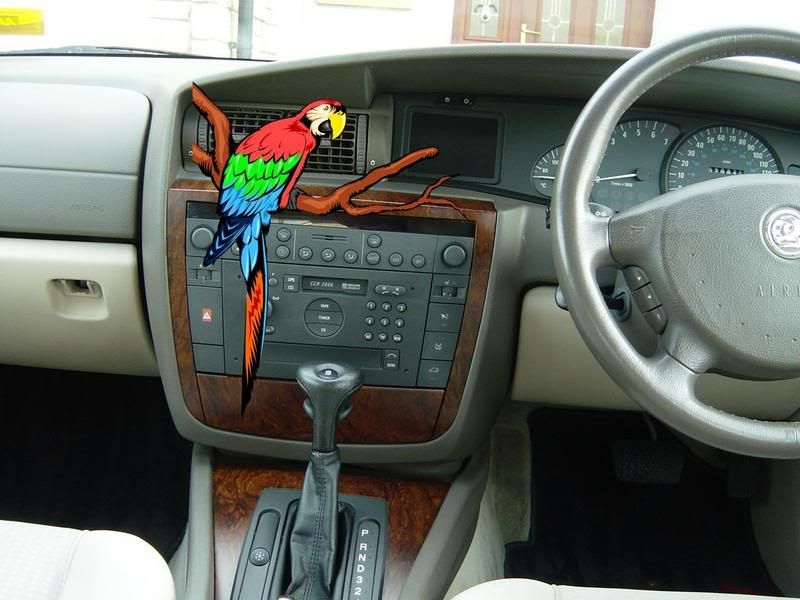
I've just fitted a Parrot CK3200LS in my Omega and used the following wires...

Wiring on the pre-wired plug is as follows...

Red  +ve

Black  +ve (switched from ignition)

Black  mute - yes there are two blacks - use a voltmeter to prove you are using the correct one!

Brown and Blue wires (twisted) line in to head unit.

Brown  -ve (thicker brown than the line in Brown)

There are 2 browns and 2 blacks in the wiring loom. If in doubt use a meter to prove you are connecting to the correct wires.

Wires from the parrot unit are self explanatory and should be labelled.

No need to intercept the speaker connections as radio is muted and audio passed through head unit. Audio can be set on head unit for required input volume.

Antenna connection not required as no physical connection exists between handset and parrot device so handset antenna is used.

HTH

Dave

17
Thanks for the advice guys.

Finally got it out but the fixing clips and the cage are in a mess. Looks like some cowboy has forced the unit unit with a big screwdiver then just forced it back in. Fortunately I found scrap merchant had an Omega in and I've been able to get a replacement cage and the spring clips from the side of the unit for a £1 !! :y

Now all I have to do is start installing the carkit!

18
Quote
I found that if you remove the cd caddy and put a finger and thumb into the CD and tape openings you can feel for the chassis and gently pull on it. Obviously, be careful that it is the chassis you're pulling on. They are a bit tight.

Make sure the tools have gone in until they click into place too.

Kevin


Thanks Kevin, I've been trying that but still no good. Got to the stage that the whole thing is gonna break if I pull any harder. The tools are certainly in far enough - Ive taken the unit out of my other omega to compare.

I suspect the unit is fouling on the cage somewhere but I dont think there is any way of getting the cage out without first having the unit out.

Will nip round to the stealers this morning see if one of their grease monkeys have any ideas! :-/


19
... will go have a bowl of porridge!  :y

20
Hi,

Treated myself to a new mobile phone carkit today - Parrot CK3200LS - Thought all I had to do was reach up behind the glove box, pull out the wiring harness and splice a few wires.  :(

Removed the kick plate from under the glove box and a bunch of wires dropped out - not the harness I was looking for but a bit of a botch job the previous owner has had done to install a carkit previously (probably paid good money for it). So decided to remove these from their connections behind the radio because they would probably be scotchlok's.

Got the radio removal tools out, removed the 4 grub screws, inserted removal tools, pulled, wiggled, pulled some more... nothin. Removed all the switches arond the unit to give me something to grip - heave - knee on the dashboard stuff - nowt.

Been at it for almost 2 hours now and the bu88er aint for coming out.

Any ideas?

Dave

21
Omega Electrical and Audio Help / Re: Towbar wiring
« on: 25 September 2007, 22:15:31 »
Not sure what wires you need colours for... is it the car loom or is it the wiring harness for the towbar.

Towbar cable colours are usually as follows...

Blue ------- Rear Fog Supply
Green ----- RH Flasher
White ------ Earth
Black ------ LH Side Lights
Yellow ----- LH Flasher
Brown ----- RH Side Lights
Red -------- Stop Lights
Purple ----- Rear Fog Lamps

As Markyp suggests, it is usually better to find the pre-wired connector behind the trim in the boot. Different adapters are available for different harnesses. If it is a Vx towbar kit you are fitting the adapter you require is part number 91149320.

hth

Dave

22
Omega Electrical and Audio Help / Re: Tow bar wiring plug
« on: 20 September 2007, 16:45:36 »
According to the installation instructions for Vauxhalls Universal Towing Electrics Kit... The part numbers required are as follows:-

91145850 - Base Kit 7 Pin 12n

91149320 - Adaptor Kit (Omega- Square Plug to Reinshagen plug)

I could copy and post up the fitting instructions for the 12s and 12n kits if anyone is interested.

Dave

23
Omega Electrical and Audio Help / Re: headlight levelling sensor
« on: 19 April 2007, 22:52:51 »
That is knak'd :o 
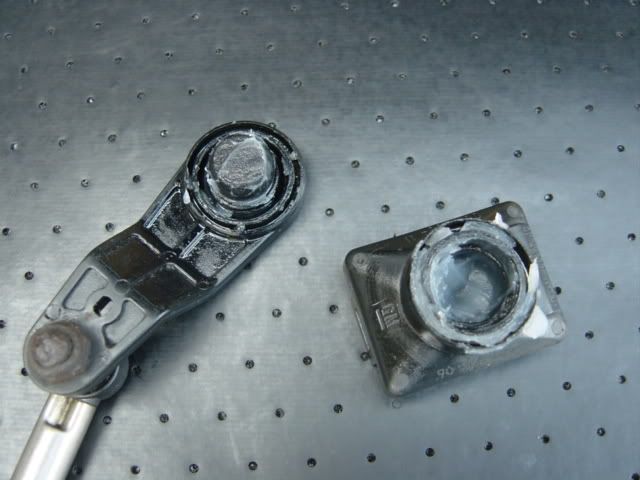
... no amount of silicon grease on the ball joint is gonna fix that one!  :)


24
Omega Electrical and Audio Help / Re: headlight levelling sensor
« on: 18 April 2007, 17:06:41 »
Fault has cleared and haven't had the warning back on since - and the headlights move dependant on load.

25
Omega Electrical and Audio Help / Re: headlight levelling sensor
« on: 18 April 2007, 16:37:04 »
I had exactly the same problem last week. Front level sensor - the ball kept coming loose from the socket. Clean it up as suggested but also coat the ball and pack the socket with silicon grease. When pushed together the excess grease is forced out b ut it tends to create a kind of vacuum seal making it more difficult for them to separate.


I also "loosely" tied a zip-tie around it so that it can still move but won't come out.

The cost of a replacement from a dealer is £51 +vat - so well worth the effort of a diy fix. :y

HTH

Dave

26
Quote
going to it a bletooth handsfree kit at some point and wondered where you posh people with the posh telephone radios mics are hidden,are they in the interior light ?

I knew a sales guy at our place who asked that question once. This guy could talk for Britain. He was told that in his case, the mic was in the seat!  ;D ;D ;D

27
Omega Electrical and Audio Help / Re: Where to put the Parrot
« on: 20 November 2006, 00:02:26 »
Sorry mate. Couldn't resist it. :y

28
Omega Electrical and Audio Help / Re: Where to put the Parrot
« on: 19 November 2006, 22:20:29 »
Found this handy dashmount... ;D ;D ;D


29
Omega Electrical and Audio Help / Re:  Phone pre-wiring
« on: 16 November 2006, 18:56:55 »
Quote
Does it have to be fitted professionally? The Car Ph*** W***House are quoting £200 for that unit plus from £75 fitting.

Were you have positioned your display, sound exactly were I thought would be best, when I was waying it up earlier. doesnt obstruct anything.

If it is easy enough to fit it, diy, any idea how you would get the new mic across without disturbing the head lining?

Sorry to Keep asking more questions.

Gary

Hi Gary,

Headling doesnt have to come off to get wiring for mic behind it. Loosen screws holding sun visors in place and headlining is loose enough to tuck wiring behind. The trim covering the A-Pillar will probably have to come off though. To do this on my facelift model I also had to remove the trim at the side of the headlining where the grab handles are. Again it's only a couple of screws and the whole lot snaps off and back on again.

Dave

30
Omega Electrical and Audio Help / Re:  Phone pre-wiring
« on: 13 November 2006, 15:00:27 »
Hi Gary,

Not sure about the Samsung kit but check it out with the guys at sio communications - http://www.siocommunications.co.uk
I see them getting referenced on this site quite a bit and they can usually help. They also have a pretty good users forum where you can ask your questions. The forum is at http://www.siocommunications.co.uk/Forum/index.php.
 :y
Dave

Pages: 1 [2] 3 4 5 6 7 8 9 ... 34

Page created in 0.048 seconds with 19 queries.