Omega Owners Forum

Please login or register.

Login with username, password and session length
Advanced search  

News:

Please check the Forum Guidelines at the top of the Newbie section

Show Posts

This section allows you to view all posts made by this member. Note that you can only see posts made in areas you currently have access to.

Topics - RobG

Pages: 1 ... 6 7 8 9 10 11 12 [13] 14 15 16 17 18 19 20 ... 39
181
Car Parts, bits For Sale & Wanted / Poss. wanted. Abs ecu
« on: 17 October 2011, 20:20:40 »
May need an Abs Ecu for a MY `00 F/L 2.5 Auto Elite. Will know for sure in the next day or two. Any knocking about

182
Car Parts, bits For Sale & Wanted / V6 Saloon full exhaust. GM
« on: 15 October 2011, 23:11:03 »
Removed from a 3.2 Saloon. Full GM exhaust with twinpipe backbox. No leaks/splits/cracks. £50 collected. Can courier at cost


183
Car Parts, bits For Sale & Wanted / F/S 2.6/3.2 rad with oil cooler
« on: 15 October 2011, 22:58:01 »
No leaks. £30 posted

184
General Discussion Area / E-mail link
« on: 13 October 2011, 22:11:32 »
Is the site going to eventually have an "e-mail" link if a member wishes it to be viewable, or is it unworkable with the new software :-\

185
Car Parts, bits For Sale & Wanted / F/S battery bag/cover
« on: 12 October 2011, 20:31:32 »
Battery jacket in good nick. £10 posted

186
Maintenance Guides / Removal of F/L front bumper
« on: 07 June 2011, 21:57:31 »
The front bumper is held on with a total of 9 fixings, 4 x torx screws and 5 expanding lift/push "plugs".
2 x torx on each side


2 x "plugs" under bonnet and 3 underneath the bumper


Pics of the "plugs" under bonnet. Release these by lifting centre of plug with small flatblade screwdriver inserted into visible slot.


Then remove under headlight trim, some are held in with a pushpin (the hole at trim end) but most are just secured with the rubber "hook". Release the trim and pull outwards steady, the other end unclips.


Pics of "plugs" under bumper. Same procedure to release.


This pic shows the "plugs" in situ with bumper upturned.


Next undo the 4 x torx screws (2 each side) at bumper ends.


You can now pull the bumper towards you to release it. Unplug the multi-connector near the horns


If headlamp washers are fitted unclip the connector at the washer pipe by pushing the retaining clip


If you need to remove the steel bumper bar it`s held on with 4 nuts (2 each side) and the washer reservoir is fixed to the bar via 4 x torx screws.


Job done

187
Maintenance Guides / location of servotronic relay
« on: 03 June 2011, 18:17:41 »
Servotronic relay is behind passenger kickpanel at the top. Red one in the pic, easier to get at with glovebox removed.


188
Maintenance Guides / How to disassemble door mirror
« on: 28 April 2011, 11:13:30 »
Seeing as some scrote on a pushbike snapped my mirror off I thought I would do this guide. It relates to a facelift mirror but I would imagine they`re pretty much the same across the range.
Tools needed are a Philips & small flat blade screwdriver.

Remove door mirror by carefully prising triangular section off inside door, remove the 3 philips screws then remove mirror & unplug connector.
Press mirrorglass inwards (red arrows) then pull glass towards you (black arrows) to release the clips on the retaining ring affixed to rear of glass.


Release spade connectors and put mirrorglass somewhere safe (unless it`s been smashed :D). In this pic you can see the 3 screws holding the motor (plus a dead spider ;D).


Now the colour-coded "shell" needs to be removed. With the flat bladed screwdriver release the plastic tangs circled in pic and the shell can then be removed.


Now the black trim can be removed by the same process, releasing the tangs


This is what you are left with


Reverse the process for re-assembling. :y


189
Maintenance Guides / Manual crank handle for Elite seats
« on: 23 April 2011, 22:05:12 »

190
Maintenance Guides / Cleaning the sunroof disc. With pictures
« on: 13 July 2009, 13:01:58 »
 There`s been a lot of questions raised regarding the Omega
"phantom" sunroof. Usually this problem can be solved by removing and cleaning the black disc within the PCB cover.
Tools req. Small flat-bladed screwdriver or similar. Philips driver and a male T20 driver bit.
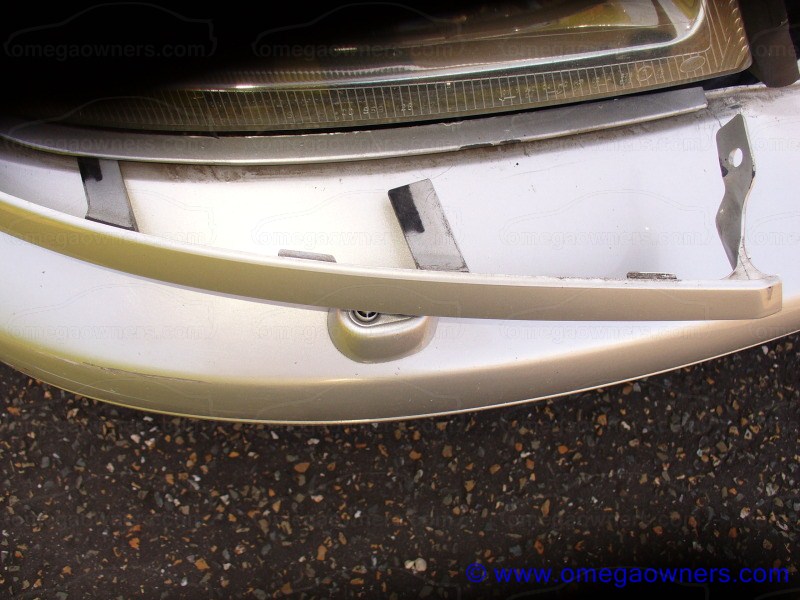
Pull sunroof control off, carefully prise out courtesy lamp and disconnect then undo the 2 philips screws securing the motor cover.

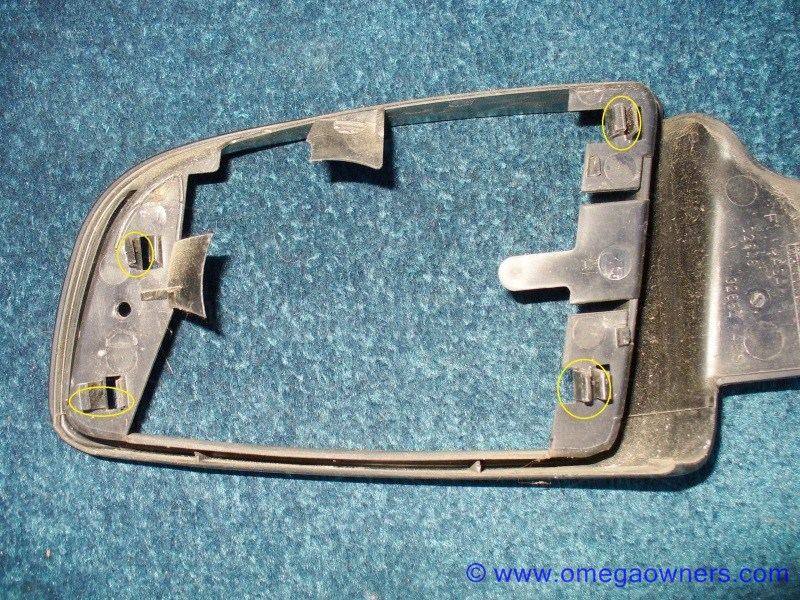
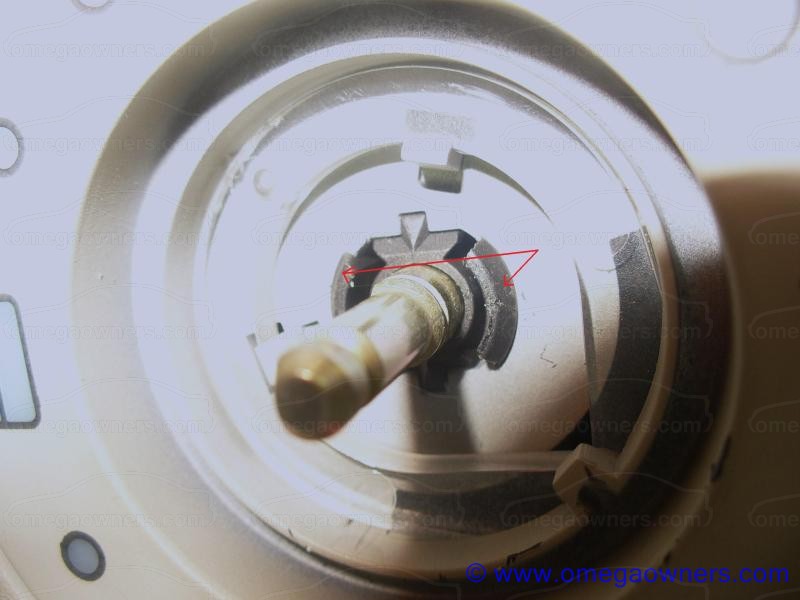
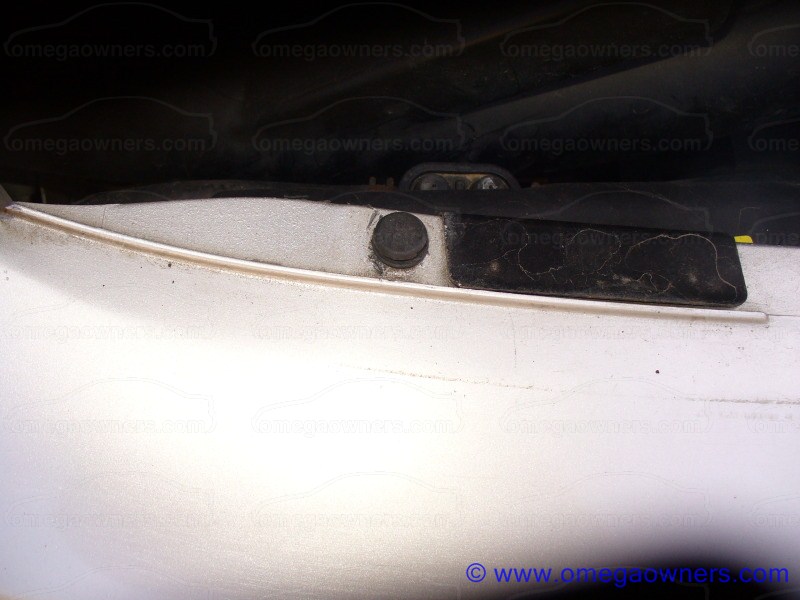
Where the control knob sits, depress the two side tangs, push the spindle up and withdraw the cover.

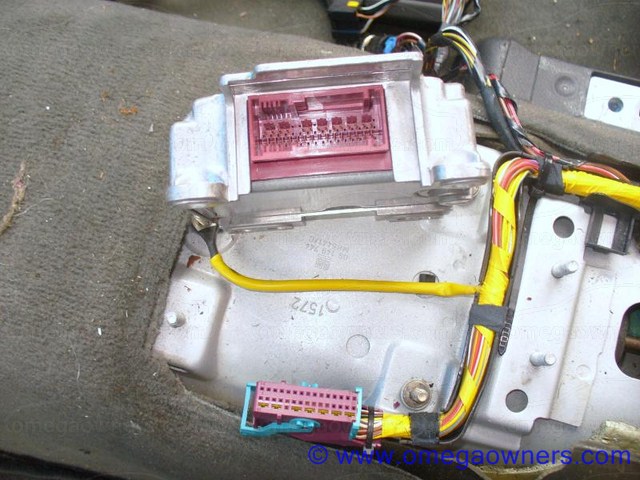
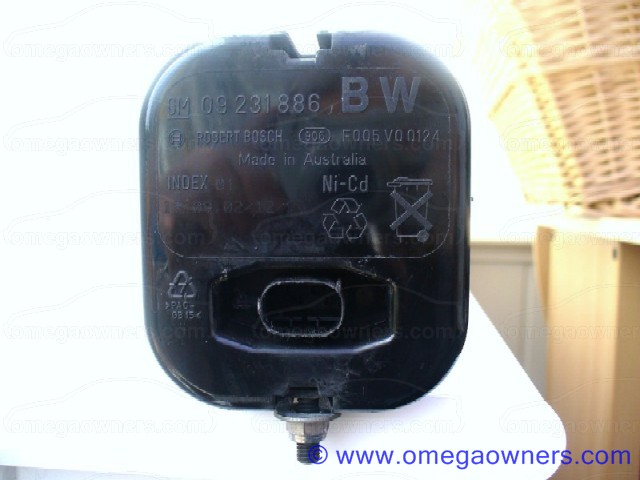
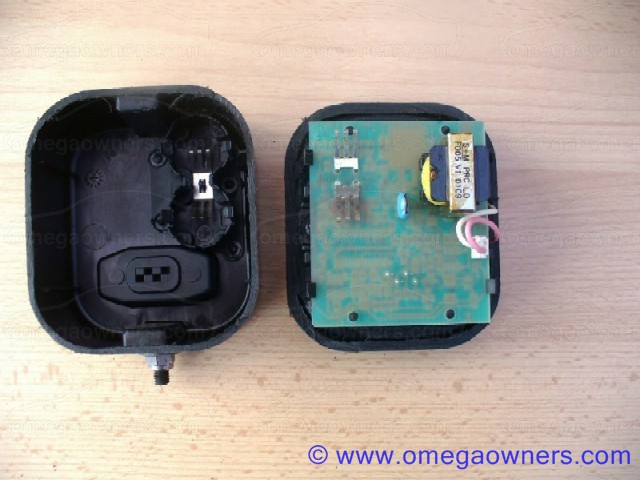
Using the T20, undo the 3 bolts securing the PCB cover and disconnect the two multi-plugs and remove.

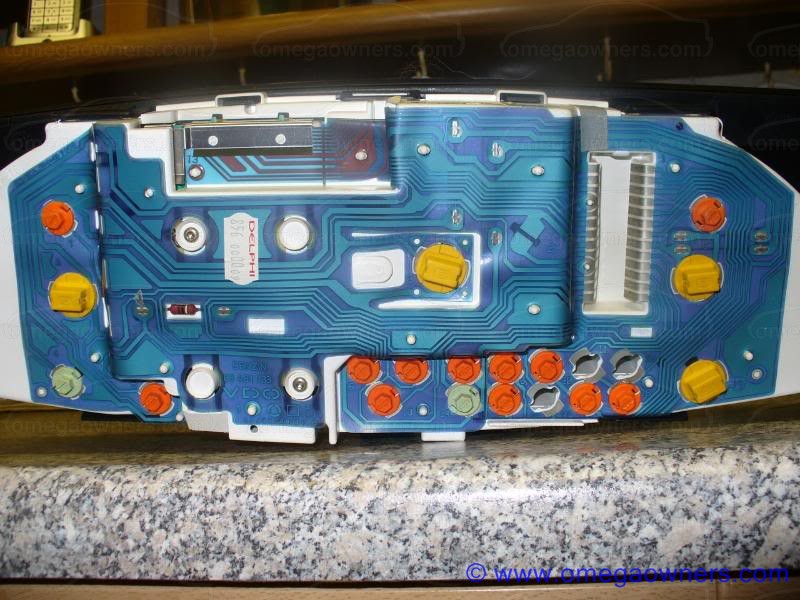
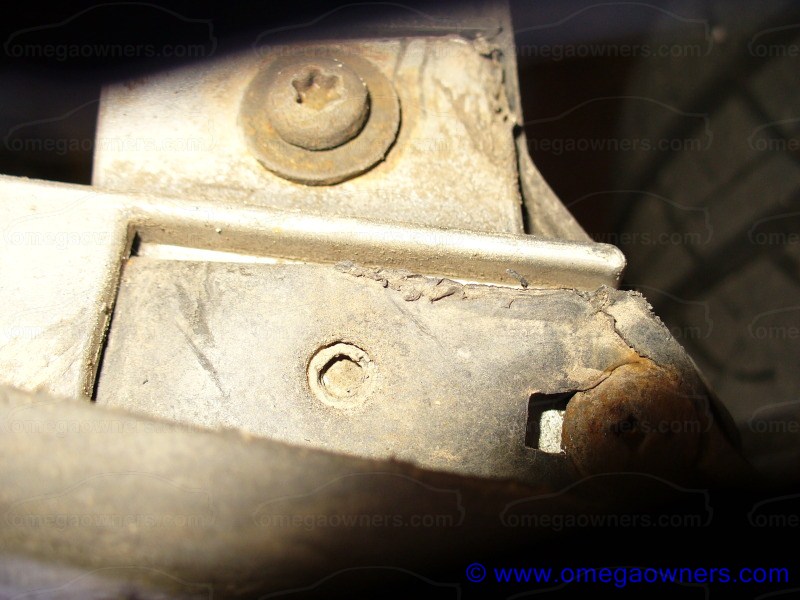
Unclip the cover and the PCB and disc will be visible.

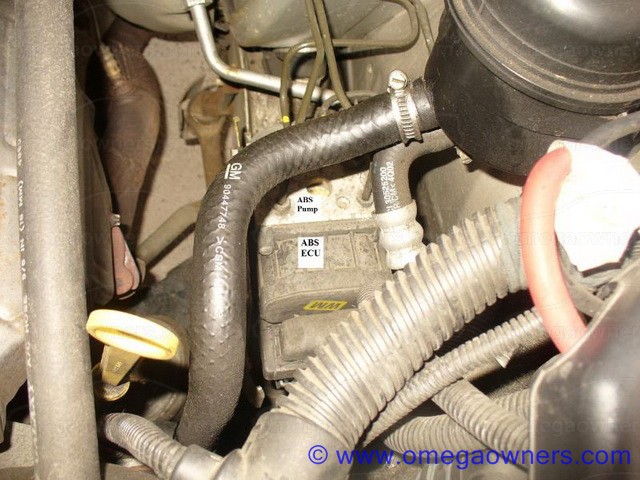
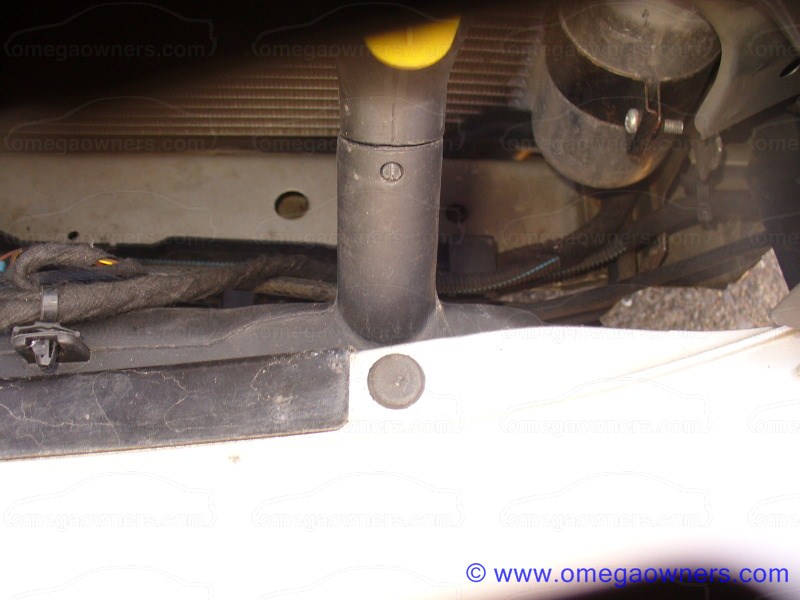
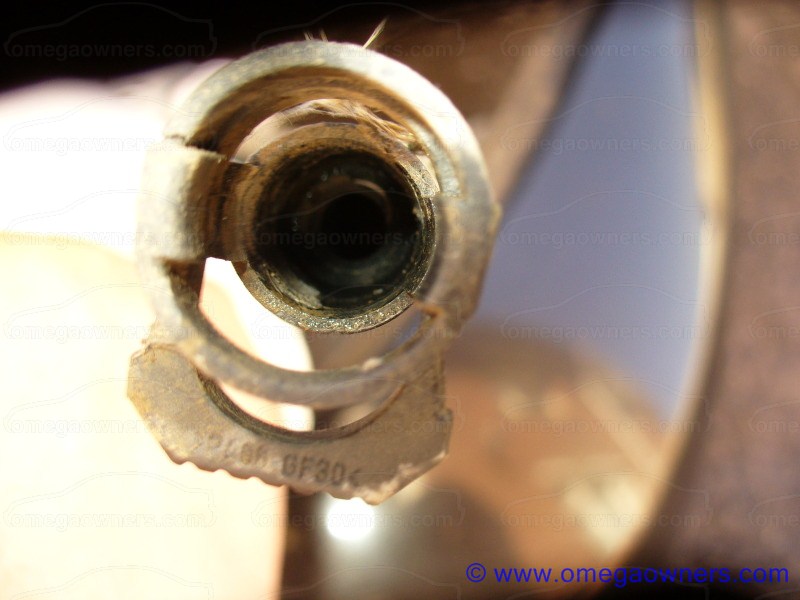
This is where the bulb sits. 12V/1.2W, SUN ROOF 90512802

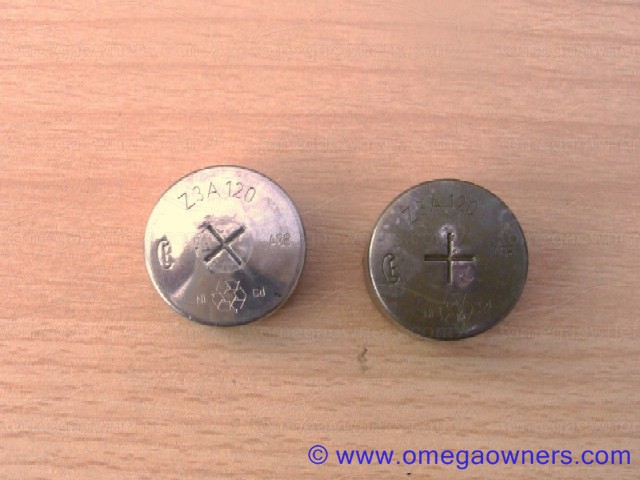
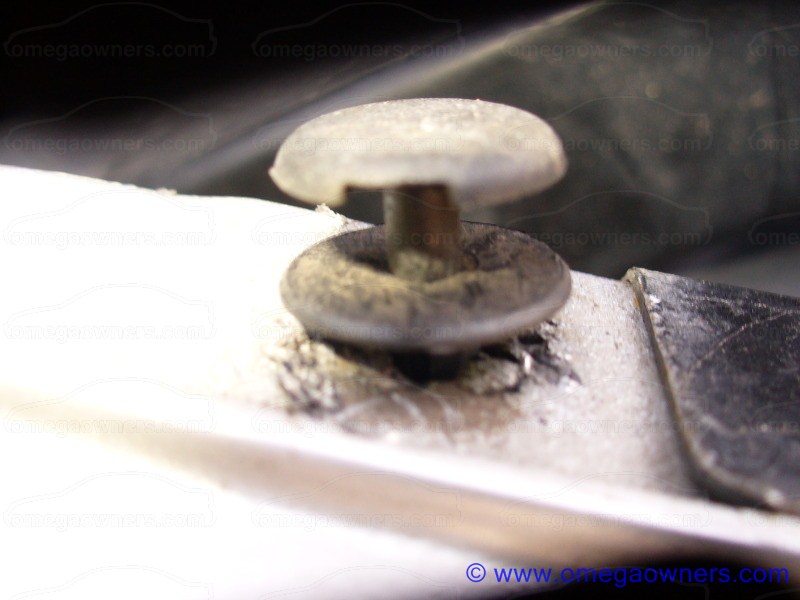
Remove the disc noting which way it`s fitted and clean with switch cleaner or similar.

Here is a pic showing the bulb.

When done fit all back together, reset roof, and hopefully the problem is solved in the majority of cases.
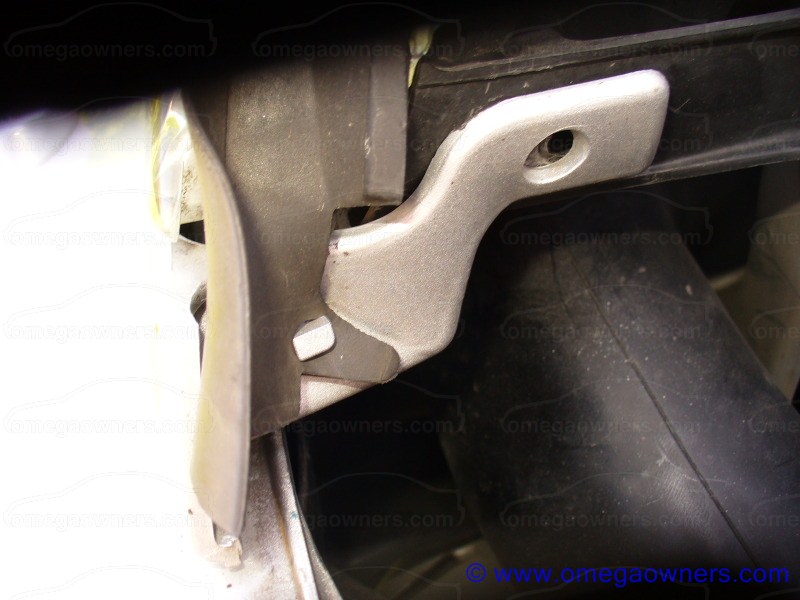
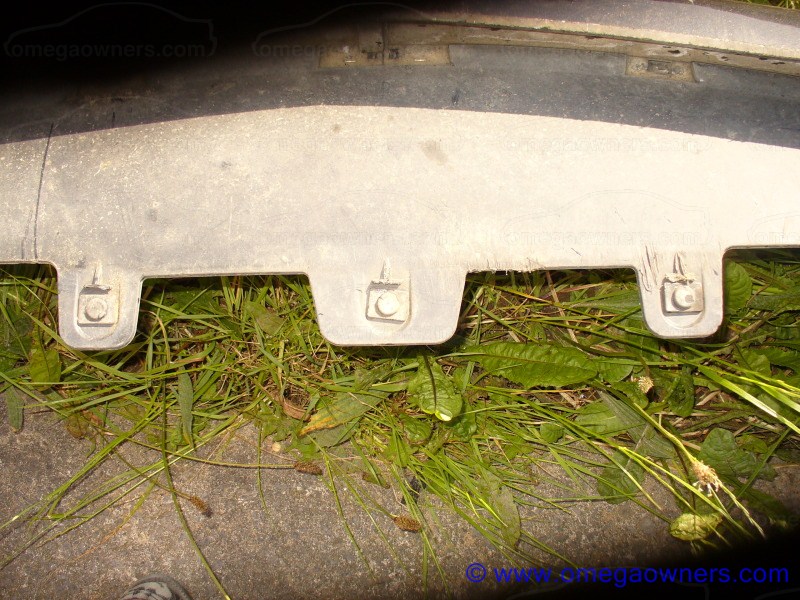
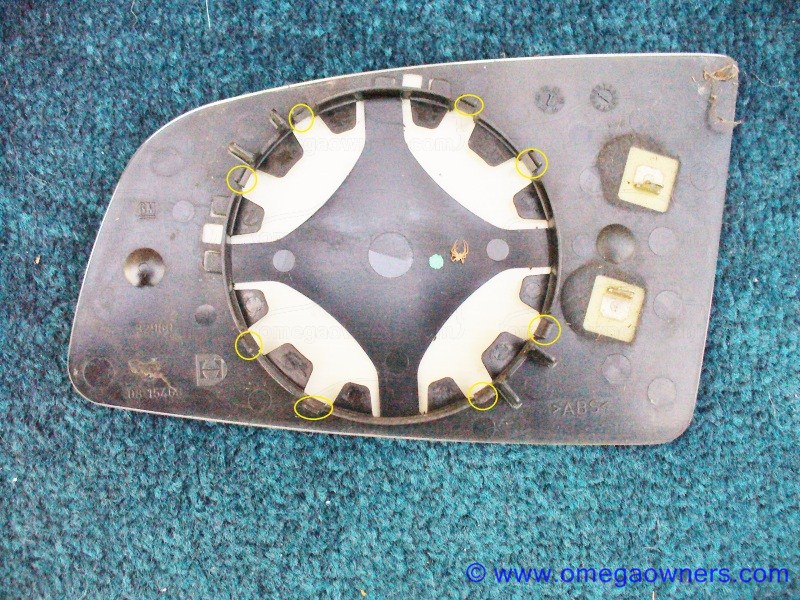
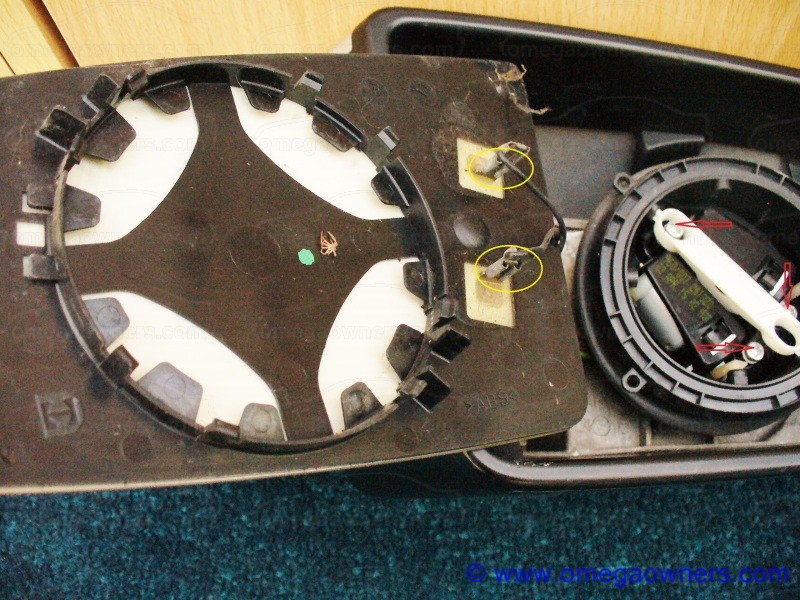
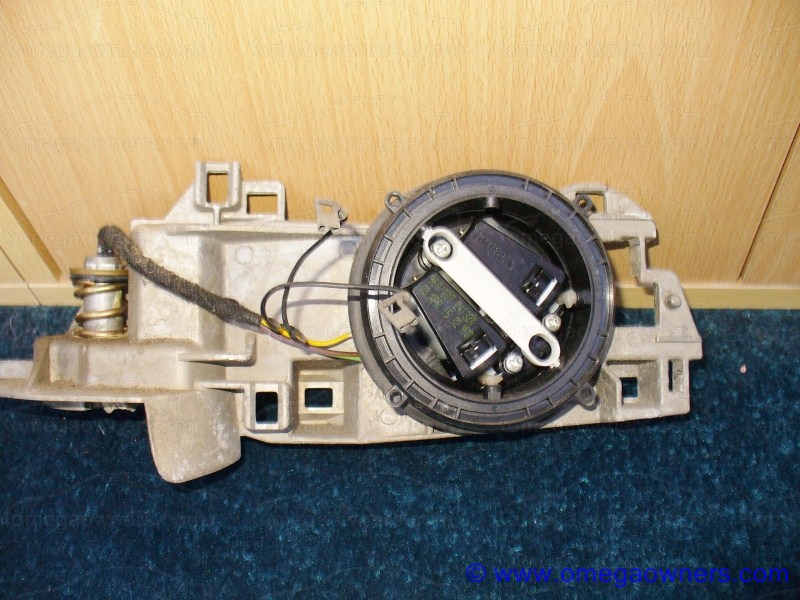
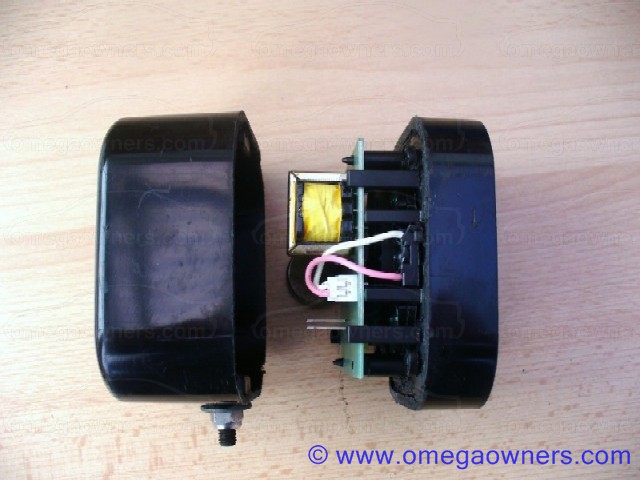
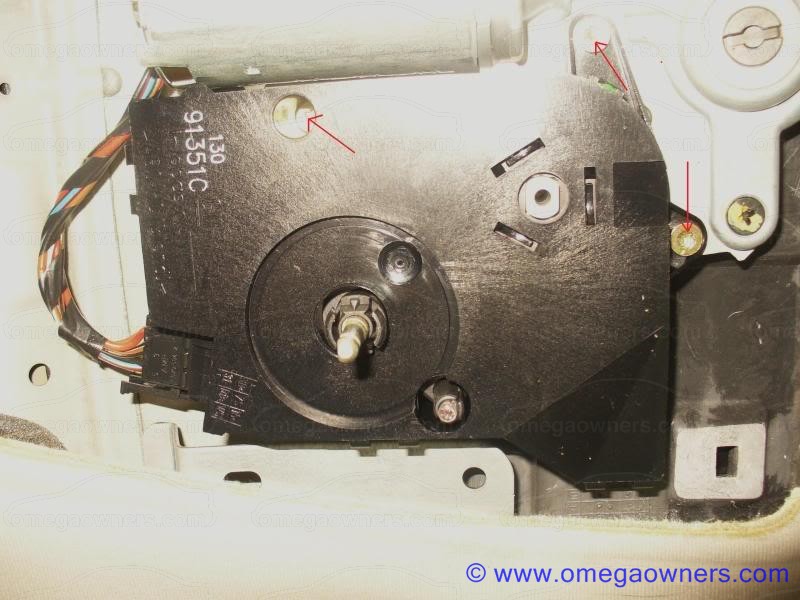
 :y

191
Maintenance Guides / Replacing SRS (airbag) Module FAO Jimbob
« on: 14 November 2010, 14:33:58 »
Follow instructions in this thread (courtesy of Albatross)
http://www.omegaowners.com/forum/index.php?topic=90589.0

REMEMBER TO DISCONNECT BATTERY & wait for 10-15 minutes
Then you can remove the centre console in it`s entirety. When removed you will have access to this once you have removed the heater ducting (just pull towards rear then slide forward to access the nuts)

Undo the 4 x 10mm nuts & remove armrest bracket and you will see the module

Undo the 3 x 10mm nuts remove module and unclip multi-connector

Fit new module (same ident, in this case EF)
Re-fit everything in reverse order, job done.

If it`s suitable Jimbob please move to maintenance. Cheers.

192
Maintenance Guides / Underbonnet 2.2 labeled photos
« on: 19 July 2010, 22:26:45 »


This one courtesy of "Abiton"


193
Here you are Jimbob

Max of 17 warning bulbs 509T...1.2 or 2W. 4xmain illumination bulbs...501 capless 2 or 2.2W

4 x 509T tend to be 2W
Main illumination bulb

Soldered in holder warning bulb

194
Maintenance Guides / Inside the powersounder
« on: 18 April 2009, 19:01:40 »
Powersounder showing part no.


Sounder opened, side view.

Sounder exposed view showing battery placements.

Sounder batteries.

I used a hacksaw on the join of the body needing to cut through about 4mm. Just need to source a battery supplier or alternative batteries.
This sounder is from the facelift model so not sure if a different battery set-up was used on the earlier models.

195
Omega Electrical and Audio Help / C/L module swap
« on: 26 August 2011, 18:07:48 »
If you replace the C/L module with one with same part number is there any coding/pairing needed :question

Pages: 1 ... 6 7 8 9 10 11 12 [13] 14 15 16 17 18 19 20 ... 39

Page created in 0.038 seconds with 17 queries.