A well overdue update with the project now that the photobucket account is unlocked.
To start with I thought I'd try my hand at boring the throttle body out, I thought I'd put it on the lathe to increase the bore then use a bit of bar with an angled top mounted in the lathe, with a sheet of brass screwed to it to make the new butterfly (see the pics).
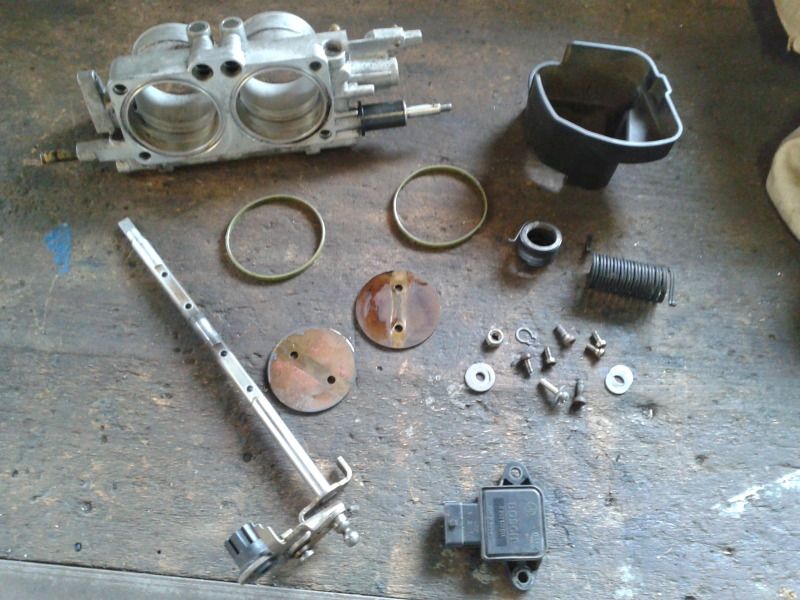
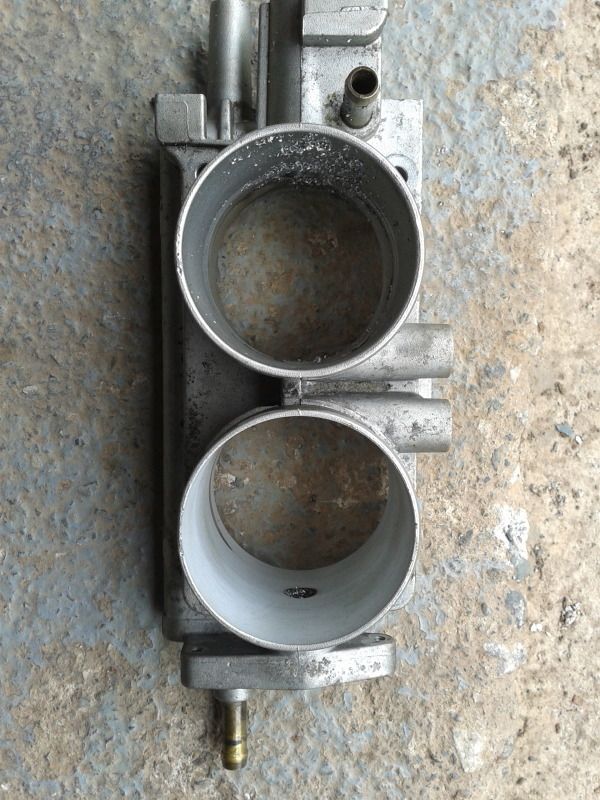
Stripped the throttle body down first (a spare one I bought incase it went wrong

)
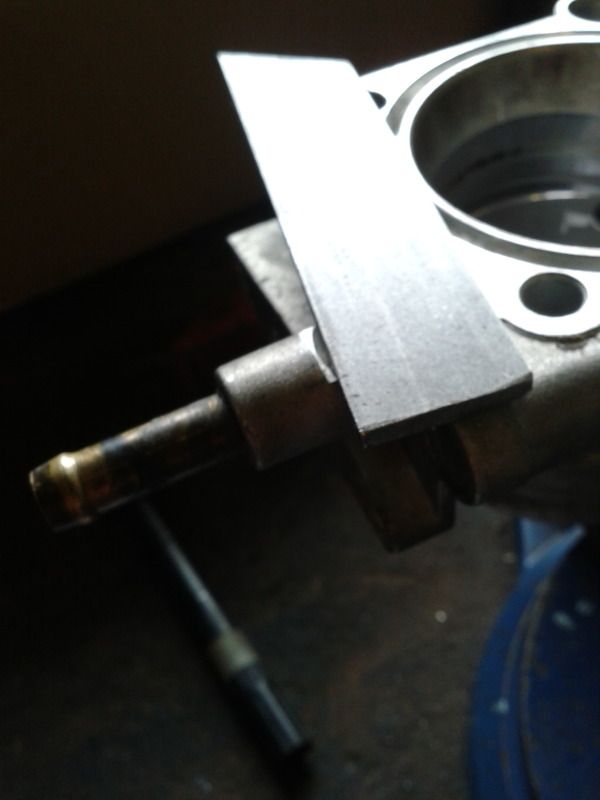
Then had a think about how best to mount it (turns out the best way would be on a milling machine but meh), I glued a couple of small strips of sheet steel to the bottom as the flat bas of the throttle body has one raised section. This way the flat bottom will be parallel to the face of the four jaw chuck.
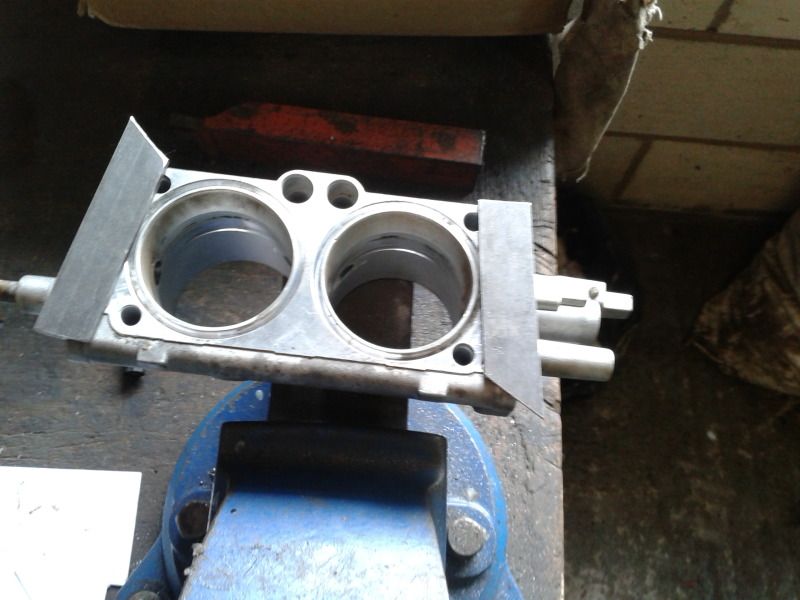
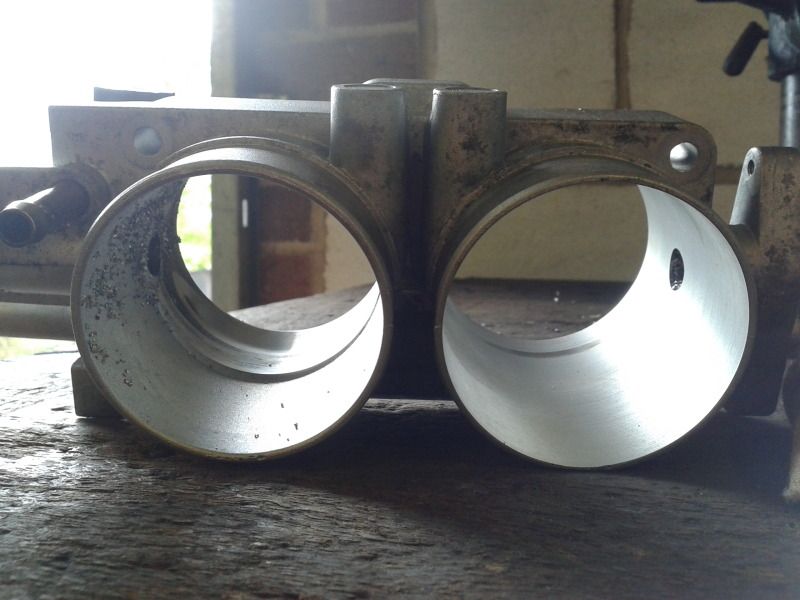
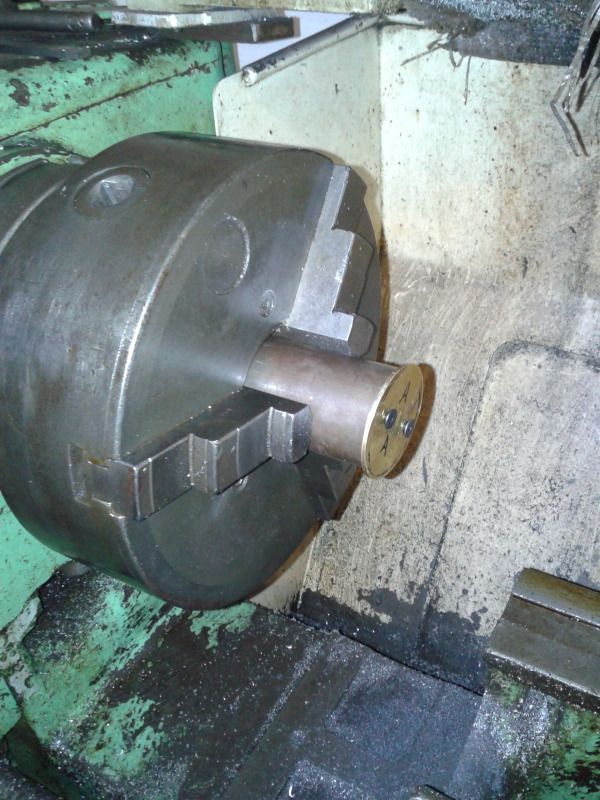
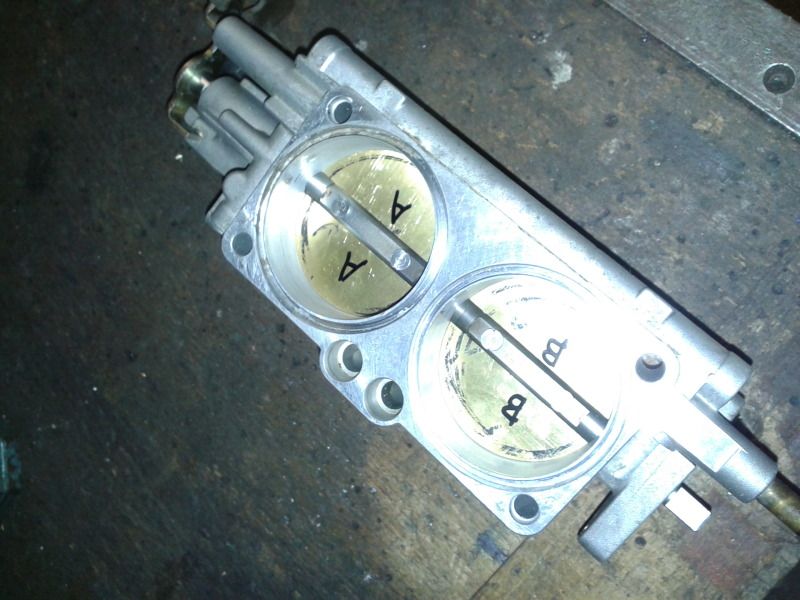
I really should have had a photo of it in the lathe, it took a while to get it central with the dial gauge and make more difficult with all the machined surfaces being against the face of the chuck, so I had to kind of guess and centralise it off the cast inner surface of the upstream side. It came out well though, here you can see the right bore done and the left still to do
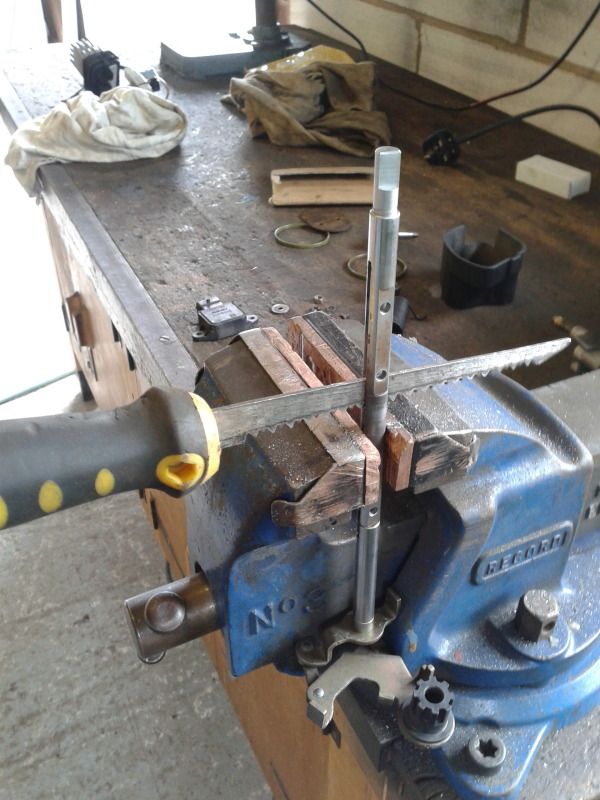
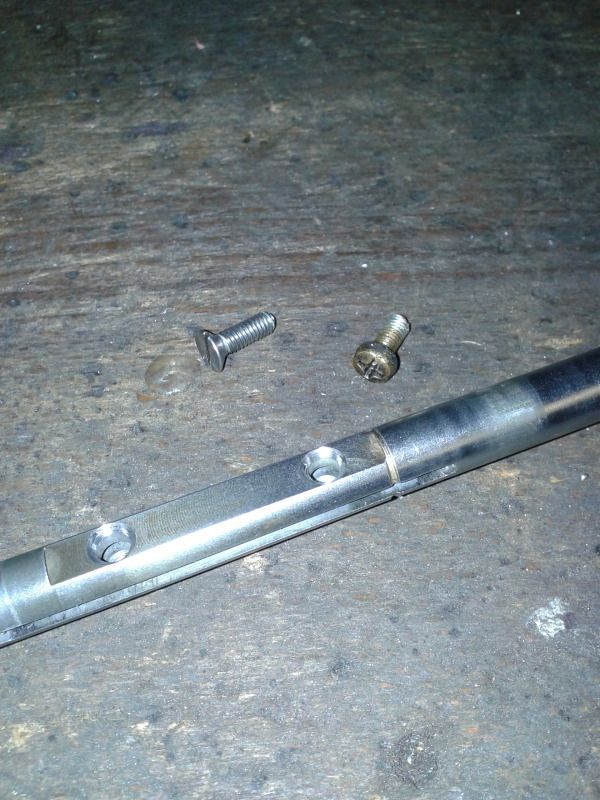
The slits in the spindle needed widening a little, this was a proper "farm engineering" job, I used a wood saw
and it worked.
This was the relatively easy bit done, the butterflies were the tricky bit really. With an increase from 54mm dia to 57mm the increase in CSA is 11% which should hopefully equate to an increase in power at the very top end of the revs.
I "umm'd and ahh'd" for a while about how best to make the slanted top bar for making the butterflies. Then gave in and used the workshop at work. Unfortunately I can't say I made the parts in the next couple of photo's but Dave in the workshop took the helm and did a fantastic job. First of all making surface grinding the bar to correct angle.
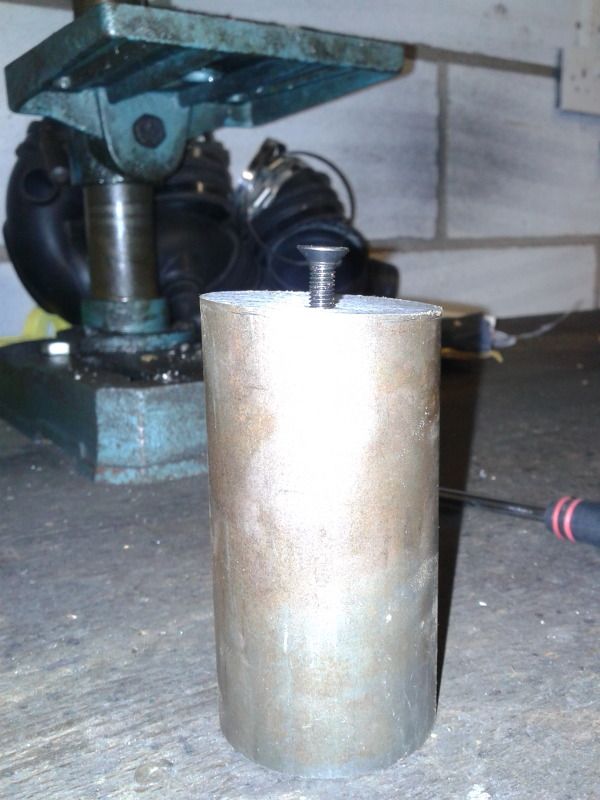
This was mounted in the lathe and the butterfly turned so that it would come out with slightly slanted side to seal in the body at 4 degrees.
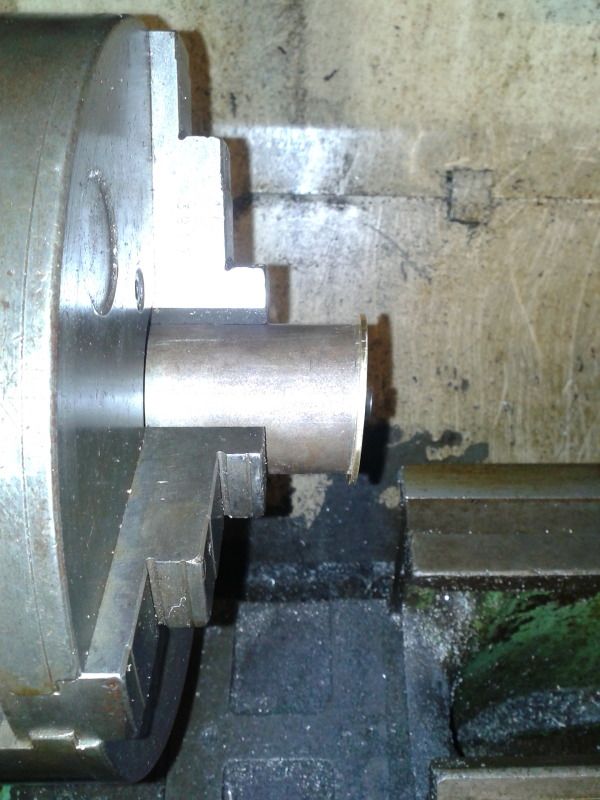
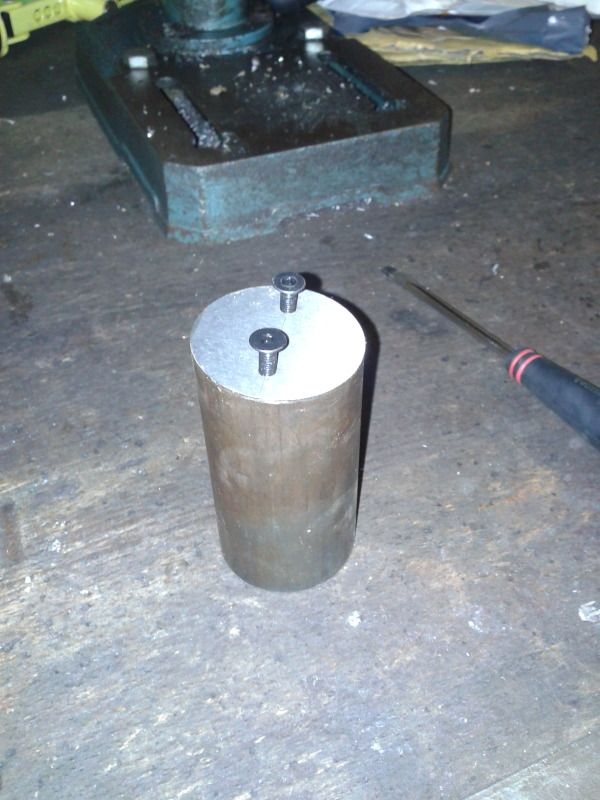
The Spindle has also been countersunk and smaller machine screws bought
This is when I found that the way the body was clamped in the four jaw chuck (using only two jaws) had meant that the bore were 0.02mm oval

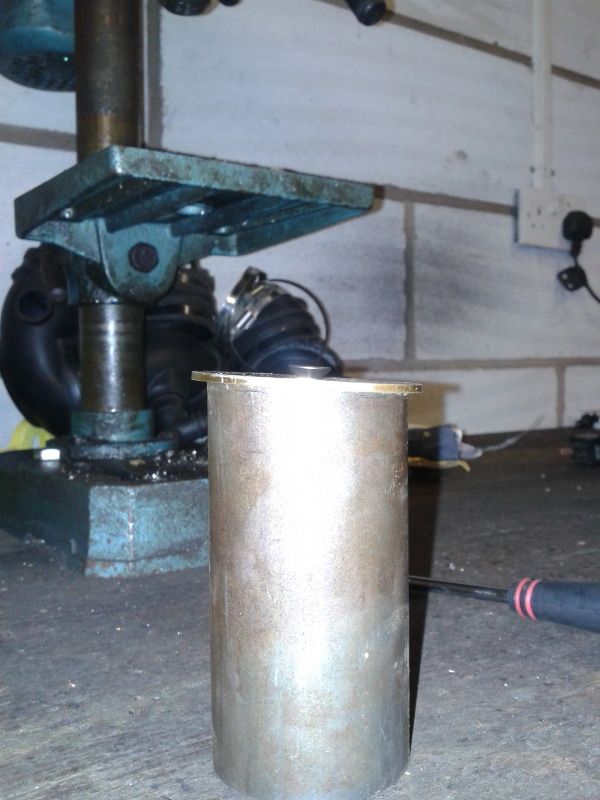
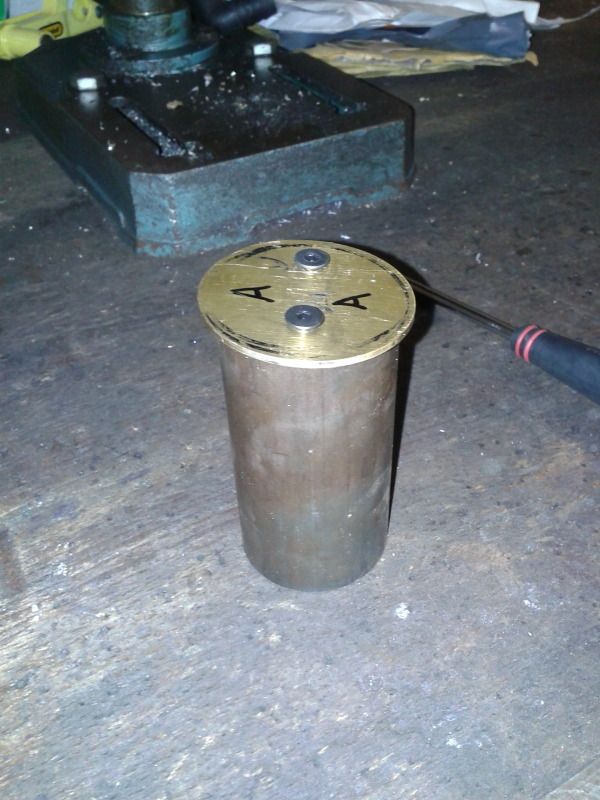
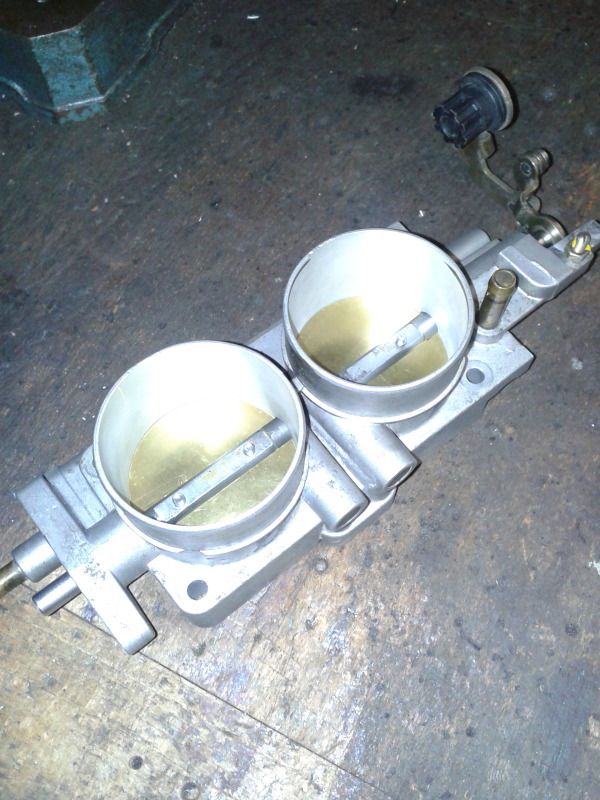
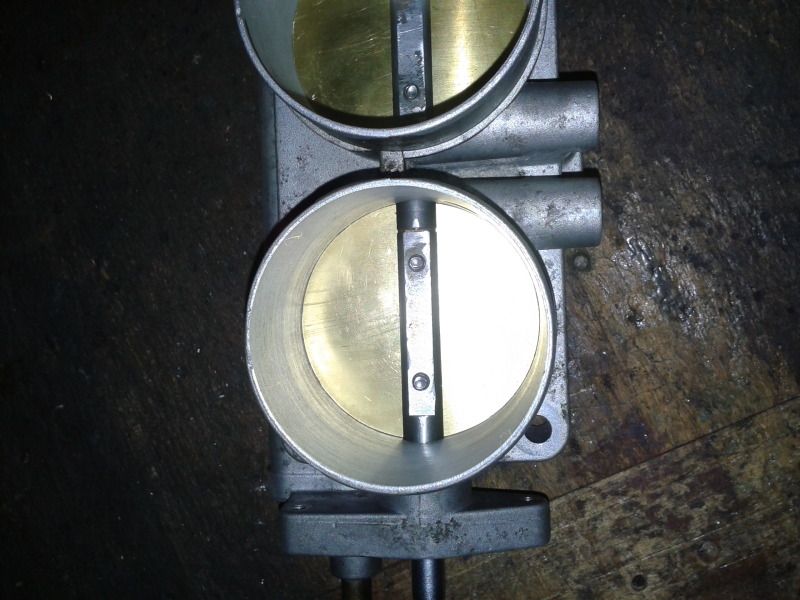
but this was easy enough to fix by gently sanding the edges of the butterflies until the profile matched the bore. And here's the finished item, its been tried and seals sufficiently well that the idle valve settings didn't need changing
The rolling road tuning session will give the answer as to whether all this has been worth the effort.
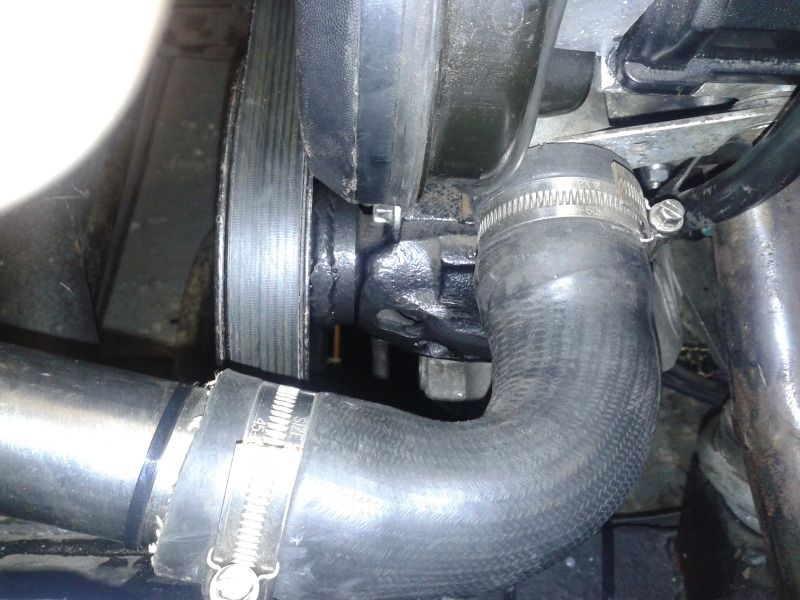
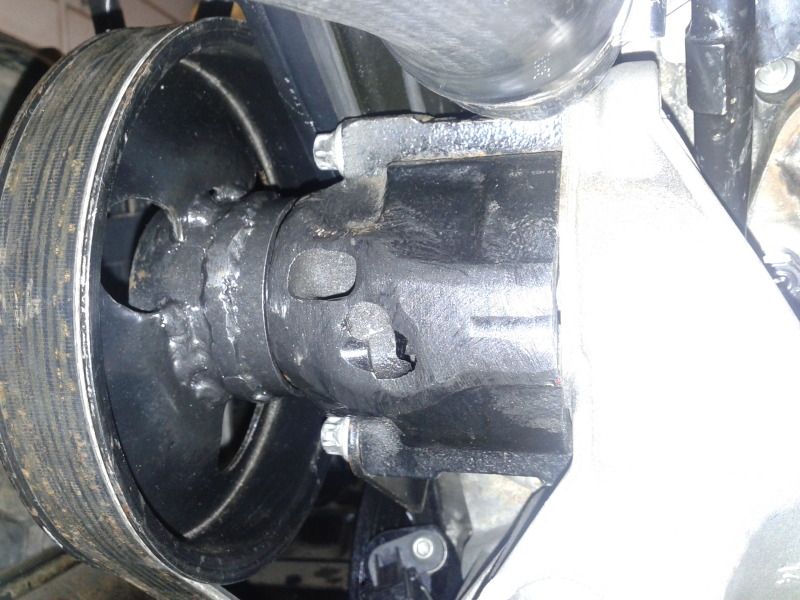
Next I had a go at the idler puller (was the PAS) I wasnt too happy with the wobble it had, so I got a new bearing for it (was the timing belt idler bearing), but this didnt cure it, the problem being that the PAS pulley is much bigger diameter than the timing belt idler would have been so any movement in the bearing is very amplified by the size of the pulley. Long story short
I put a second bearing in with the first, right next to it, so now there is no movement sideways at all, you can just about make out the extended hub of the pulley in these photos.
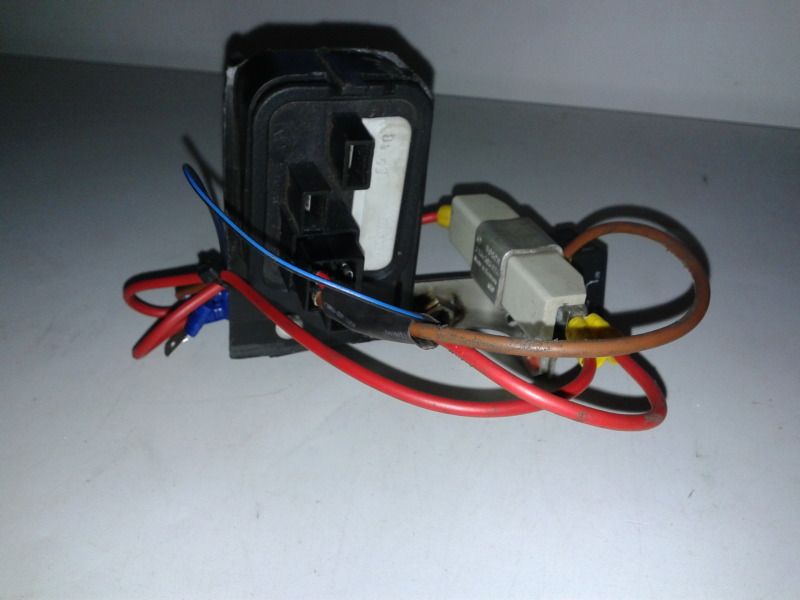
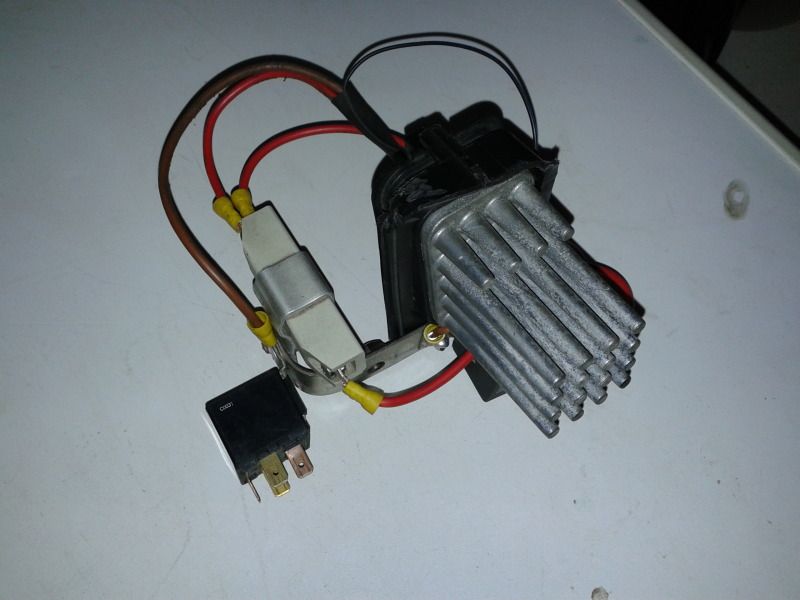
Another little project was to make a little section of electricery for the front of the car with some relays, a resistor and the slow start jobby for the interior blower.


 Author
Topic: Scimitar MV6 (Read 119461 times)
Author
Topic: Scimitar MV6 (Read 119461 times)