Omega Owners Forum

Please login or register.

Login with username, password and session length
Advanced search  

News:

Welcome to OOF

Pages: [1] 2  All   Go Down

Author Topic: just about to start volume 3 of my 'rust project'  (Read 2881 times)

0 Members and 1 Guest are viewing this topic.

Webby the Bear

  • Omega Queen
  • *****
  • Offline Offline
  • Gender: Male
  • Northampton
  • Posts: 12729
    • 2000 (W Reg.) 2.5 V6 CD
    • View Profile
just about to start volume 3 of my 'rust project'
« on: 08 March 2011, 11:30:19 »

 :'(

right, i have gone ''industrial'' on it this time. ive just bought a dangerous looking metal grinding drill bit.

will report with piccies after its all gone wrong its all done

 ;D ;D ;D
Logged
RIP Paul Lovejoy

Webby the Bear

  • Omega Queen
  • *****
  • Offline Offline
  • Gender: Male
  • Northampton
  • Posts: 12729
    • 2000 (W Reg.) 2.5 V6 CD
    • View Profile
Re: just about to start volume 3 of my 'rust project'
« Reply #1 on: 08 March 2011, 15:24:50 »

half way through   :y

ok, ive grinded as hard as possible  :o :o the rust from the wheel arch... got it all back to the metal thank god and im now waiting for filler to dry so i can sand.

only problem is ive looked deep in the wheel arch and it appears to be made from rust!!!!!!!!!!!!!

ive gone as far as i dare. obviously i expect it to come back.

ill post pics in a bit  :)
Logged
RIP Paul Lovejoy

Radiomarko

  • Intermediate Member
  • ***
  • Offline Offline
  • Gender: Male
  • Sunny Devon
  • Posts: 323
    • View Profile
Re: just about to start volume 3 of my 'rust project'
« Reply #2 on: 08 March 2011, 15:51:03 »

Pics would be nice, then I can be scared or relieved about mine!
Logged
I hate seagulls.   

Webby the Bear

  • Omega Queen
  • *****
  • Offline Offline
  • Gender: Male
  • Northampton
  • Posts: 12729
    • 2000 (W Reg.) 2.5 V6 CD
    • View Profile
Re: just about to start volume 3 of my 'rust project'
« Reply #3 on: 08 March 2011, 16:09:40 »

no probs mate. im taking pics as i go.

ill post later once ive finished.


just about to sand the filler - wish me luck lol  :y
Logged
RIP Paul Lovejoy

Webby the Bear

  • Omega Queen
  • *****
  • Offline Offline
  • Gender: Male
  • Northampton
  • Posts: 12729
    • 2000 (W Reg.) 2.5 V6 CD
    • View Profile
BANG and the rust has gone... for 5 mins (piccies)
« Reply #4 on: 08 March 2011, 19:16:39 »

i found loads of rust which was so old it just crumbled away  :o

so i grinded it out using a new wire wheel drill bit bought from b&q for £8 (bosch):

nb, i went to halfords to have the paint mixed up, gave him my colour code and he said it was just star silver which was on the shelf. £10 saving. good start!

tried grinding rust with my cordless drill. the amount of power i needed though just drained the battery and wasnt really touching the rust..... so i employed the use of 'Mr BIG':

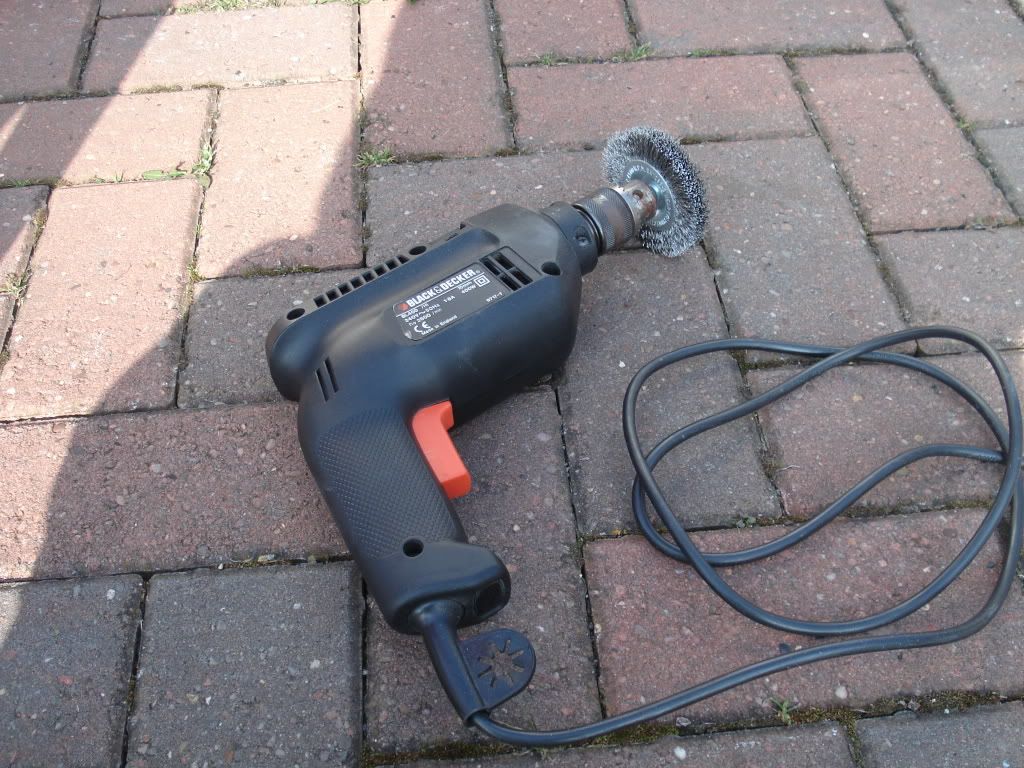
had this hammer drill for years and its so powerful it did the job a treat  :y


the great big hole you see in the pic above was where the crumbly rust was. really was bad but i knew i could fill it well so i just went for it ;)

completely covered the area with filler. i wasnt p*ssing about. i then set about sanding the area with my power sander. used really rough sand paper to start and then once id shaped i  got the real fine paper and was left with a lovely result (i think lol)


primer, paint and laqour later im left with the below:


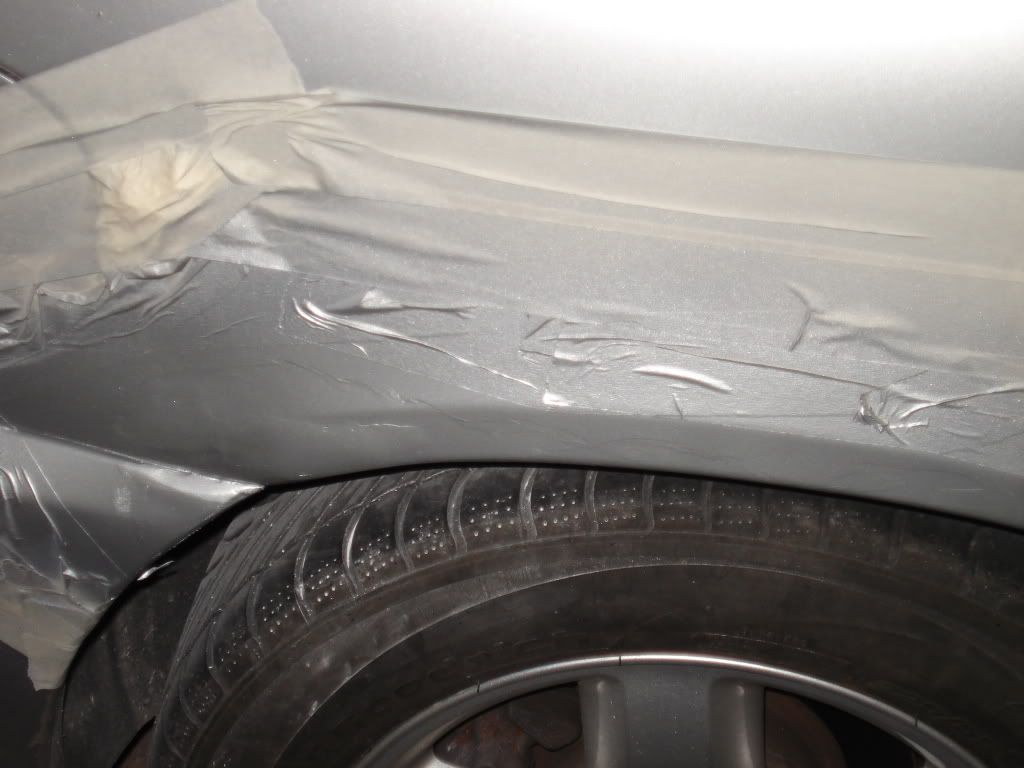
note that folds are just masking tape and i did cover the wheels before painting. its just dust from sanding the filler  ::)

well this time its gone real well.... except it got dark so i will see the final un-taped end product tomorrow morning.

hope this helps :)

Logged
RIP Paul Lovejoy

dbug

  • Omega Queen
  • *****
  • Offline Offline
  • Gender: Male
  • Northants
  • Posts: 14279
  • Dont knock Linux!
    • Jaguar XJ 5.0V8 Portfolio
    • View Profile
    • Dbug IT Services
Re: just about to start volume 3 of my 'rust project'
« Reply #5 on: 08 March 2011, 19:41:09 »

Not prepared properly mate - can see the filler and underlying paint edges (not feathered), plus you've lost the shape on bumper.  Your masking is too close to the painted area and you will now have a distinct line when you remove masking - you should really give it more space and end up with a bit of overspray which will easily polish out.

My comments are meant to be helpful mate so please don't take them the wrong way.  :y
Logged
1972 Ferrari Dino, 1967 Triumph TR4A, Mondeo 2.0TDCi Estate, Jaguar XJ 5.0V8 Portfolio

Webby the Bear

  • Omega Queen
  • *****
  • Offline Offline
  • Gender: Male
  • Northampton
  • Posts: 12729
    • 2000 (W Reg.) 2.5 V6 CD
    • View Profile
Re: just about to start volume 3 of my 'rust project'
« Reply #6 on: 08 March 2011, 19:44:43 »

lol of course not mate, any advice is always welcome ;)

when you say the  masking tape is to close, do you mean that i should have put the concentration of the paint on the affected area and ''blended'' it by lightly dusting the surrounding area with spray?  :) :) :) :)
Logged
RIP Paul Lovejoy

VXL V6

  • Omega Lord
  • *****
  • Offline Offline
  • Gender: Male
  • Warwickshire
  • Posts: 9875
    • 530D M Sport, Elite 3.2
    • View Profile
Re: just about to start volume 3 of my 'rust project'
« Reply #7 on: 08 March 2011, 19:52:37 »

For the sake of eight fixings I would slide the bumper off. :y
« Last Edit: 08 March 2011, 19:53:52 by VXL_V6 »
Logged

Webby the Bear

  • Omega Queen
  • *****
  • Offline Offline
  • Gender: Male
  • Northampton
  • Posts: 12729
    • 2000 (W Reg.) 2.5 V6 CD
    • View Profile
Re: just about to start volume 3 of my 'rust project'
« Reply #8 on: 08 March 2011, 20:02:09 »

yeah was thinking about it mate but the bumper aint the main rust area. :(
Logged
RIP Paul Lovejoy

VXL V6

  • Omega Lord
  • *****
  • Offline Offline
  • Gender: Male
  • Warwickshire
  • Posts: 9875
    • 530D M Sport, Elite 3.2
    • View Profile
Re: just about to start volume 3 of my 'rust project'
« Reply #9 on: 08 March 2011, 20:06:17 »

Might just give you a little easier access to the metalwork  :y
Logged

PhilRich

  • Omega Queen
  • *****
  • Offline Offline
  • Gender: Male
  • A bit further North of the Back of Beyond!
  • Posts: 10338
    • Mk 2 Volvo V70
    • View Profile
Re: just about to start volume 3 of my 'rust project'
« Reply #10 on: 08 March 2011, 20:13:21 »

Quote
yeah was thinking about it mate but the bumper aint the main rust area. :(


Webby, the bumper only takes a few minutes to remove & would have made life a LOT simpler! Unfortunately,now you've damaged the end profile & it's unlikely you will get it back the way it was  :-/ In future mate, always remove any trim etc in the 'danger zone' . As said already, not being critical, just trying to help  :y ;) 
Logged
If it ain't broke keep fixing it 'til it is!

Webby the Bear

  • Omega Queen
  • *****
  • Offline Offline
  • Gender: Male
  • Northampton
  • Posts: 12729
    • 2000 (W Reg.) 2.5 V6 CD
    • View Profile
Re: just about to start volume 3 of my 'rust project'
« Reply #11 on: 08 March 2011, 20:15:03 »

bearing in mind i have the distinct line (after removing the tape) surely i can now still feather the paint though?  :-/
Logged
RIP Paul Lovejoy

henryd

  • Omega Lord
  • *****
  • Offline Offline
  • Gender: Male
  • west cornwall
  • Posts: 8806
  • VW Touareg R5 tdi Auto
    • View Profile
Re: just about to start volume 3 of my 'rust project'
« Reply #12 on: 08 March 2011, 20:28:38 »

Hi webby, just looking at your pics, did you use just filler in that hole or is the first fill bridge a gap(red filler with fibreglass strands in). Reason for asking is because ordinary body filler is porous so absorbs moisture , the bridge a gap is waterproof so would seal the back of the hole so preventing the bubbling up that happens after a few weeks.
As the others have said you need the masking further away from the repair and don't paint up to the tape edge, spray on the basecoat then when you apply the laquer go a little further out so that when you cut back afterwards you are only rubbing the laquer and not the base colour which will avoid the masking line thatyou have at the moment.
Really sorry if it sounds like I am going on and on but just trying to help as I used to do some of this for a job a long time ago :y
Logged
other rides 
  mk3 Volvo v70 2.0 Diesel ,Citroen C2, Pug 306 cabriolet
  Sterling elite trekker pikey wagon

Webby the Bear

  • Omega Queen
  • *****
  • Offline Offline
  • Gender: Male
  • Northampton
  • Posts: 12729
    • 2000 (W Reg.) 2.5 V6 CD
    • View Profile
Re: just about to start volume 3 of my 'rust project'
« Reply #13 on: 08 March 2011, 20:33:25 »

Quote
Hi webby, just looking at your pics, did you use just filler in that hole or is the first fill bridge a gap(red filler with fibreglass strands in). Reason for asking is because ordinary body filler is porous so absorbs moisture , the bridge a gap is waterproof so would seal the back of the hole so preventing the bubbling up that happens after a few weeks.
As the others have said you need the masking further away from the repair and don't paint up to the tape edge, spray on the basecoat then when you apply the laquer go a little further out so that when you cut back afterwards you are only rubbing the laquer and not the base colour which will avoid the masking line thatyou have at the moment.
Really sorry if it sounds like I am going on and on but just trying to help as I used to do some of this for a job a long time ago 

cheers mate i do appreciate all help and advice  :y :y :y

no i just used the filler throughout. that makes sense to use a non absorbant filler though so bubbles dont come through. is this something available from halfords?

cheers  :y
Logged
RIP Paul Lovejoy

henryd

  • Omega Lord
  • *****
  • Offline Offline
  • Gender: Male
  • west cornwall
  • Posts: 8806
  • VW Touareg R5 tdi Auto
    • View Profile
Re: just about to start volume 3 of my 'rust project'
« Reply #14 on: 08 March 2011, 20:37:37 »

The numbers with isopon are p38 and p40 but I forget which number is filler and which is glass fibre reinforced filler,someone will be along in a minute who knows which number is which  ;D

On the upside webby it looks like you got all the rot this time but would have been easiest for you with bumper off as others have said :y
« Last Edit: 08 March 2011, 20:39:43 by henryd123 »
Logged
other rides 
  mk3 Volvo v70 2.0 Diesel ,Citroen C2, Pug 306 cabriolet
  Sterling elite trekker pikey wagon
Pages: [1] 2  All   Go Up
 

Page created in 0.013 seconds with 17 queries.